

So you want a website for your brand or your business, but where do you start? All the technical components of setting up your website can seem intimidating.
Have you ever wondered what’s the difference between a website host and domain? Or maybe you want to know how to connect your domain to your email address? Or maybe you have a question about how all the components work together… Then this is the post for you!
(This article contains affiliate links, which means I may receive a commission for purchases made through links in this post. Read the Privacy Policy for details.)
Step 1. Purchase a website domain.
First things first. If you want to look like a real professional head on over to Namecheap and snag a personalized domain for your website. A personalized domain is simply a URL (website address) that you want people to type in to find your website – think www.google.com or www.facebook.com – It’s just the URL name, not the actual website. Just type in your desired name into the search bar on Namecheap and see if it’s available.
Remember to keep your domain name simple and try not to add unnecessary punctuation if you can help it. The shorter it is, the easier it will be to remember and to type in. Many people opt to just use their own name or the name of their business, but if it’s long or hard to spell, you might opt for something shorter and clever. If your desired domain is already taken or comes with a premium price tag, you can try using a non-traditional domain ending such as .co instead of .com.
A personalized domain takes your professionalism up a level and is super affordable- Usually under $12 a year for most domains (I’ve also got a sweet 15% coupon code so you can get it even cheaper!) In my opinion, this is a no-brainer because it is a very small investment, that takes very little effort but you get a lot of value because it communicates that you are serious about your business.
Related Post: My Top Tips & Tools for Picking a Domain Name for Your Website
Step 2. Decide on your website platform.
Unless you are a web developer or know HTML, you’ll need to figure out what tool or platform you are going to use to create your website. The number of options out there probably seems overwhelming so I’m going to try and simplify things by giving you my top recommendations.
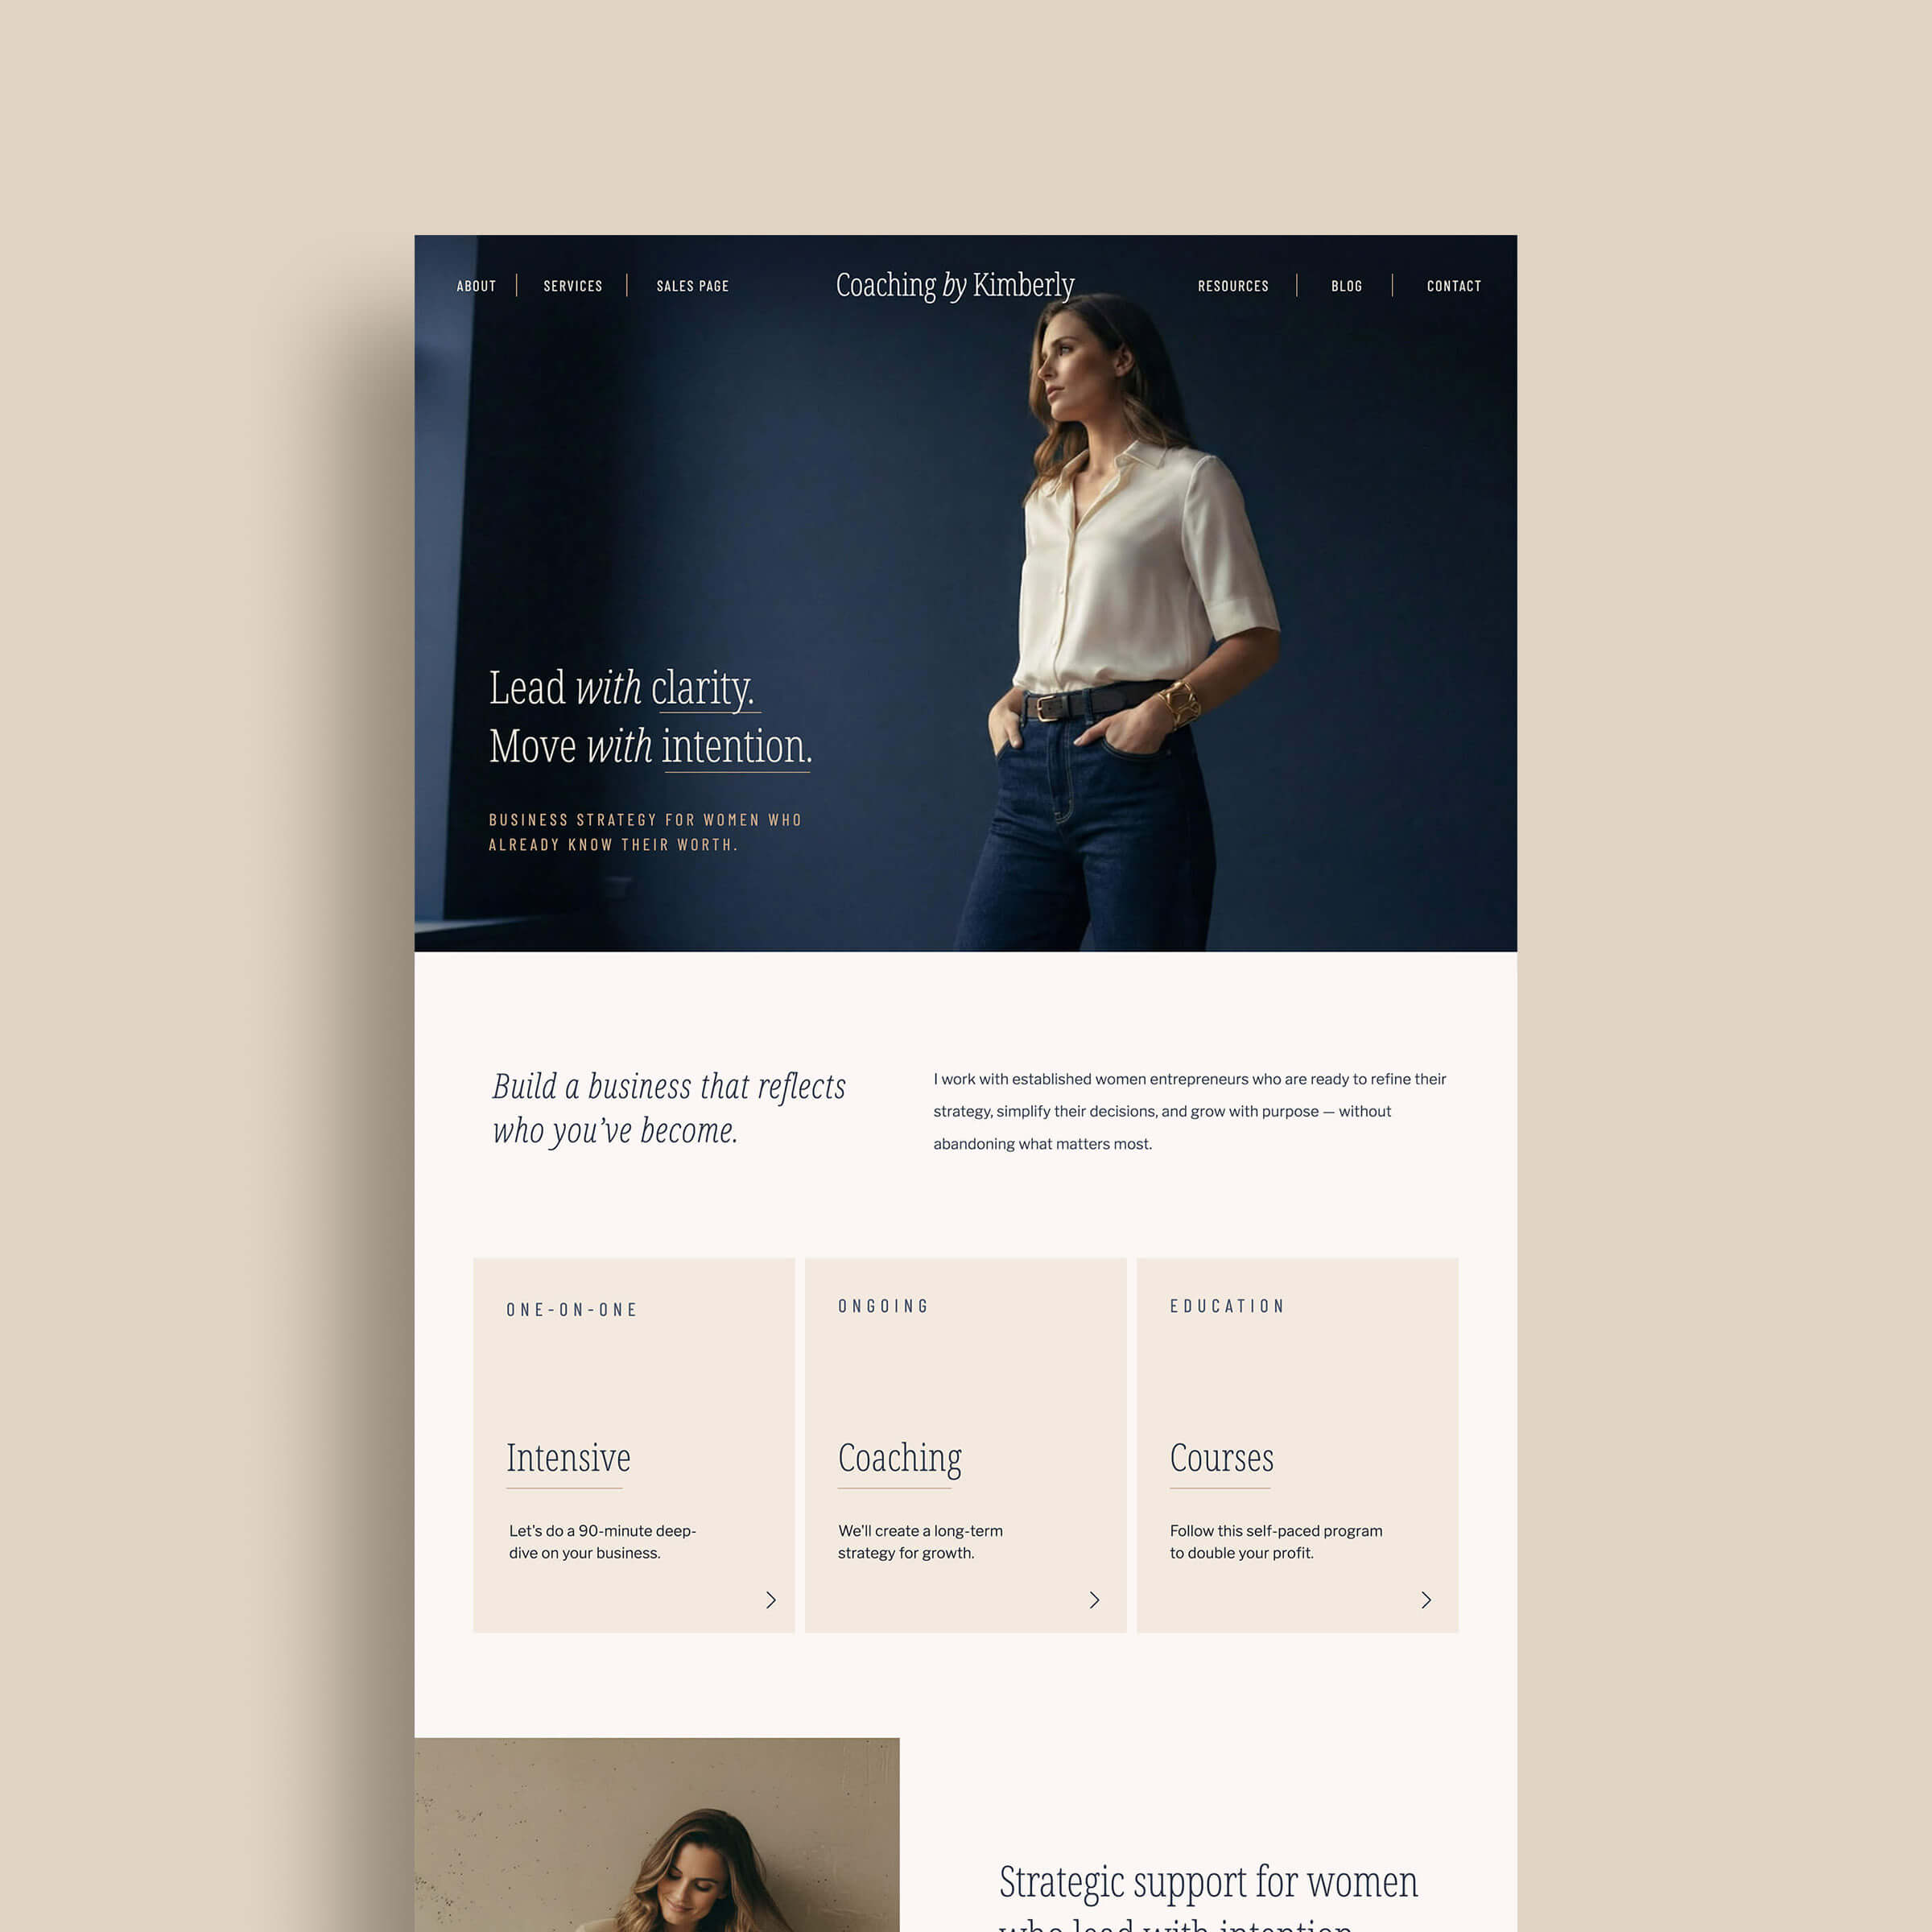
Squarespace
If you are a service-based business and are just starting out, you probably want a website builder that’s very easy to use. Squarespace has several pre-built templates and options that make it easy to get your website up in just a few hours. Their beautiful templates and easy-builder are perfect for creating a simple starter website that looks good for anyone. Really, it’s so hard to mess up a Squarespace site, so if you consider yourself technically challenged, this is for you!
Showit
If you consider yourself a little creative or fancy a site with a very unique design, Showit is another great option you should look into. It’s a little more technical to learn than Squarespace, but you get more freedom and flexibility to really make your site your own. Showit also has the ability to integrate with WordPress which is what makes this platform really shine because you get the best of both worlds!
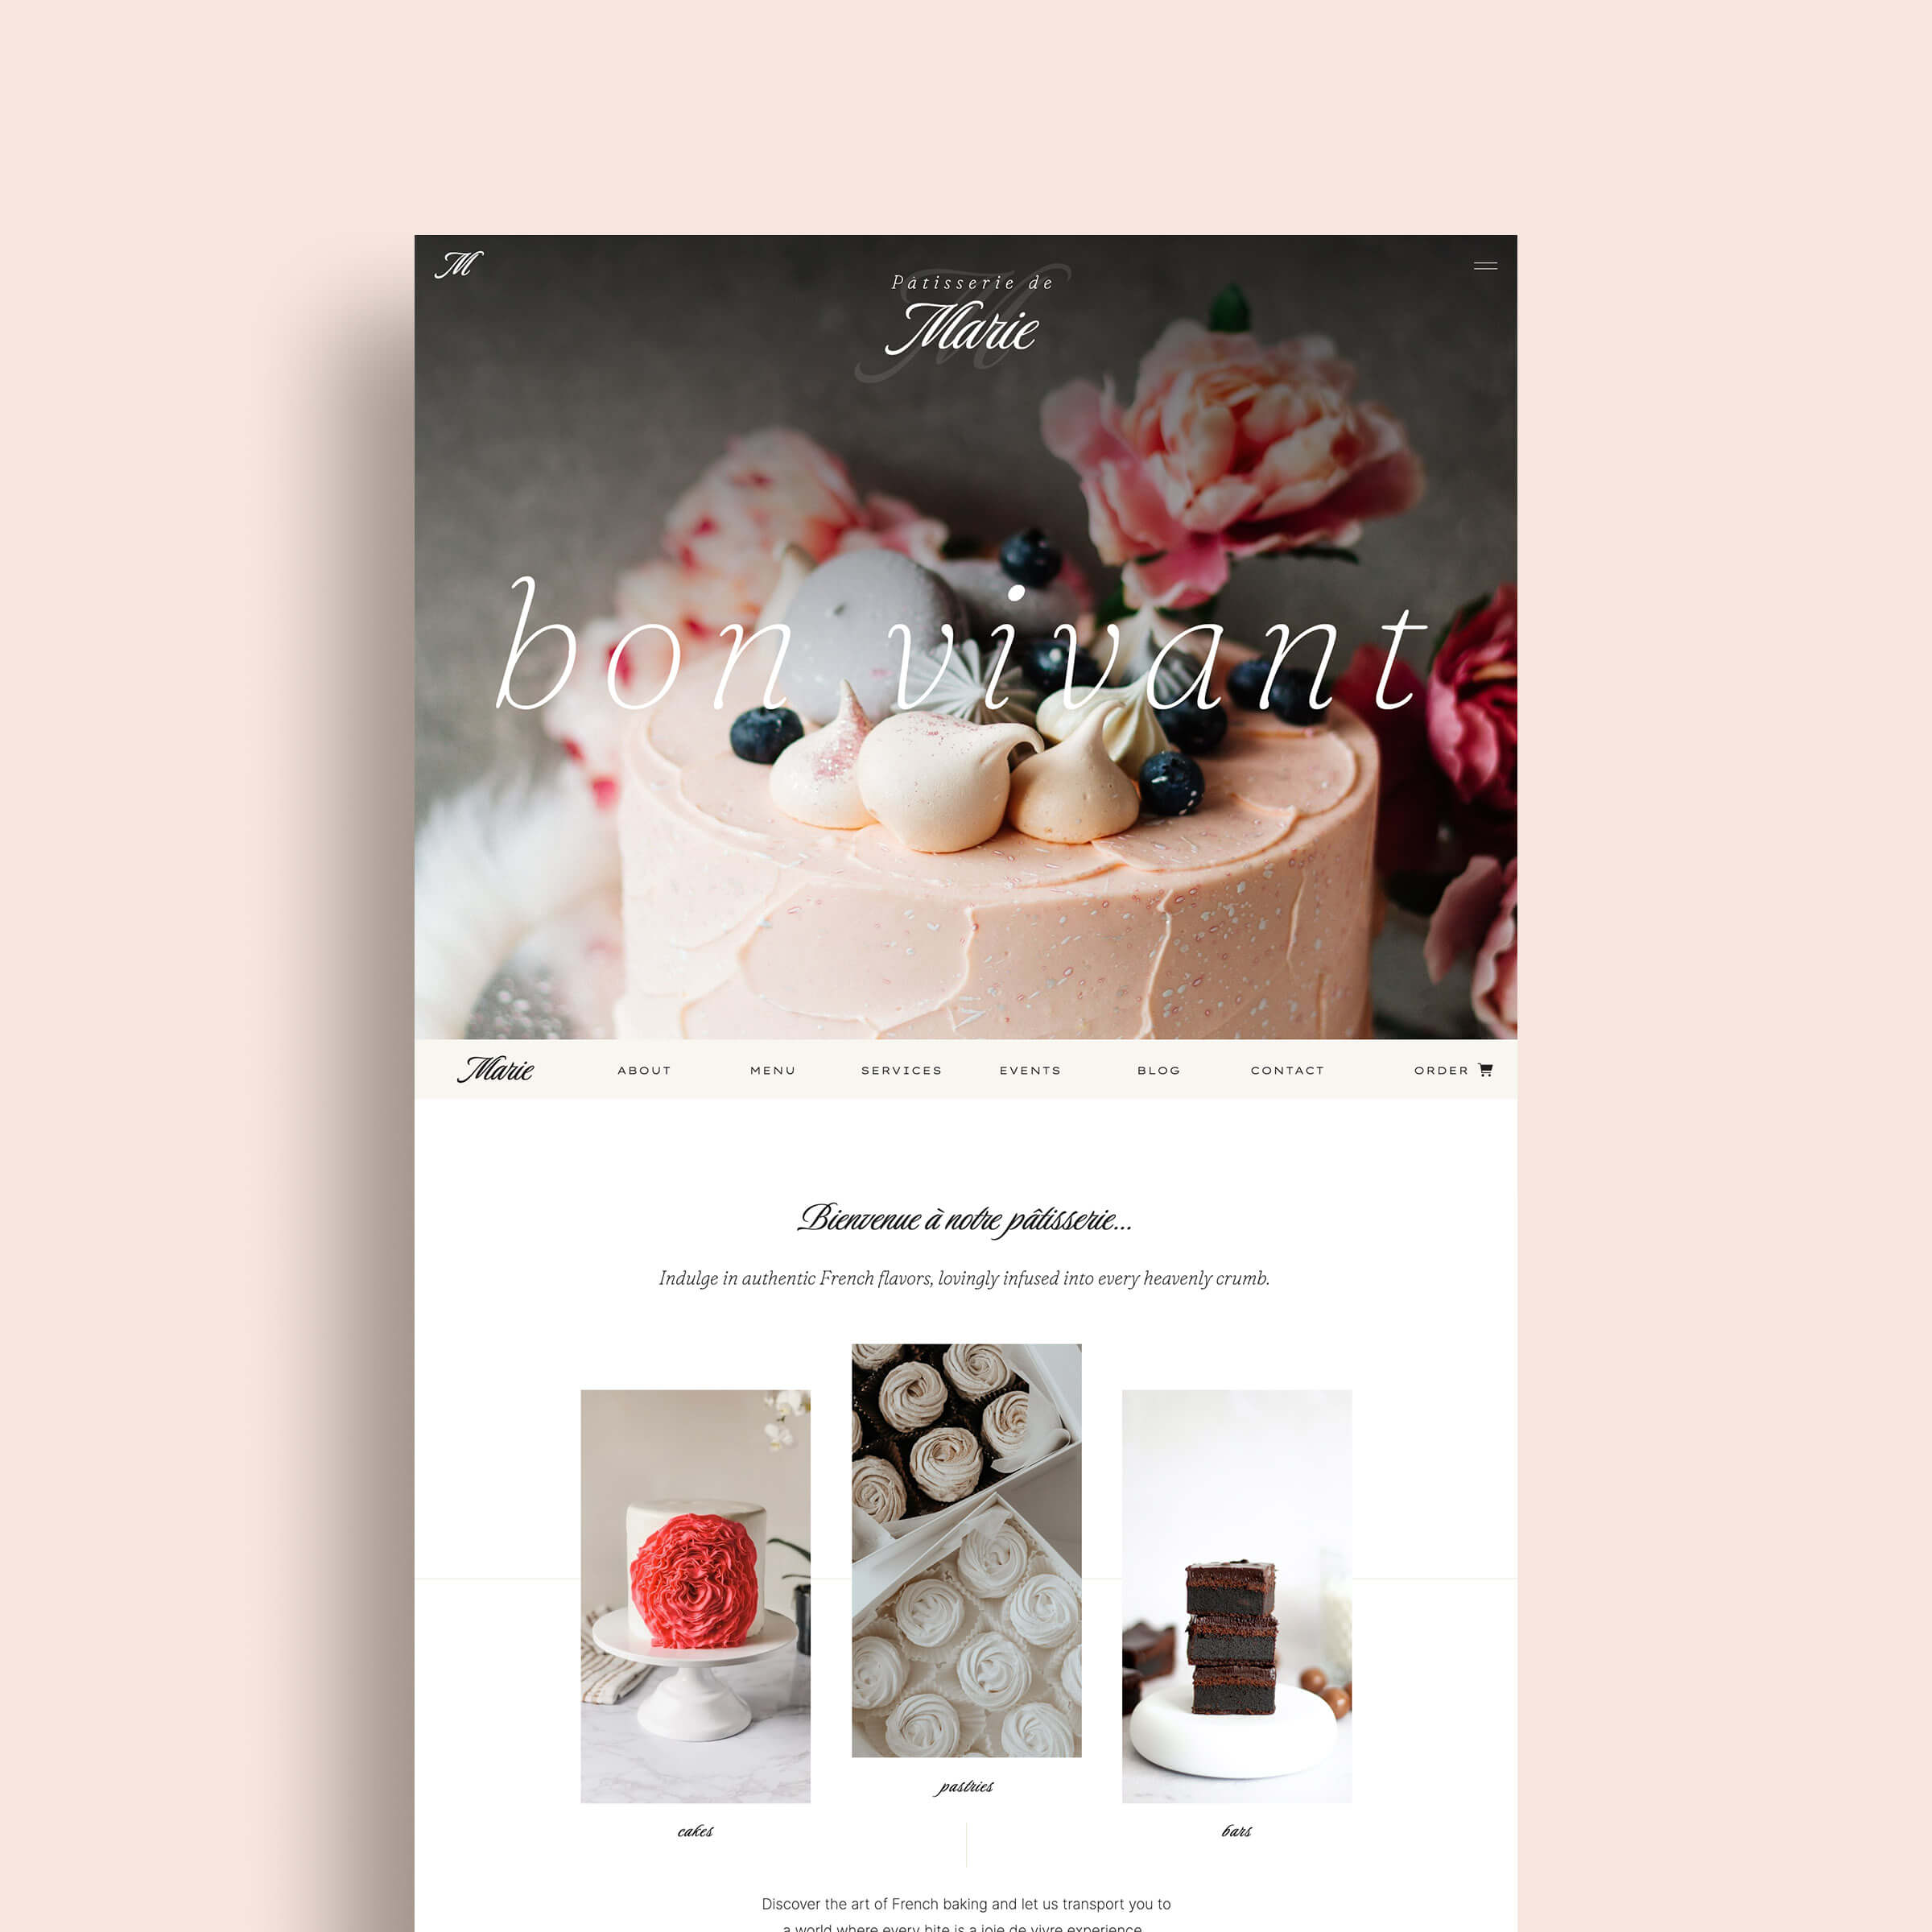
Shopify
If you sell physical products and want a simple site to just sell your products, Shopify is going to be your best bet. They make it easy to add your products and coordinate all the technical aspects around customers making a purchases and all the things that go with processing orders. While you can sell products on other website platforms, Shopify was built for this so in my opinion it’s really the best option if you need a simple website to sell things online.
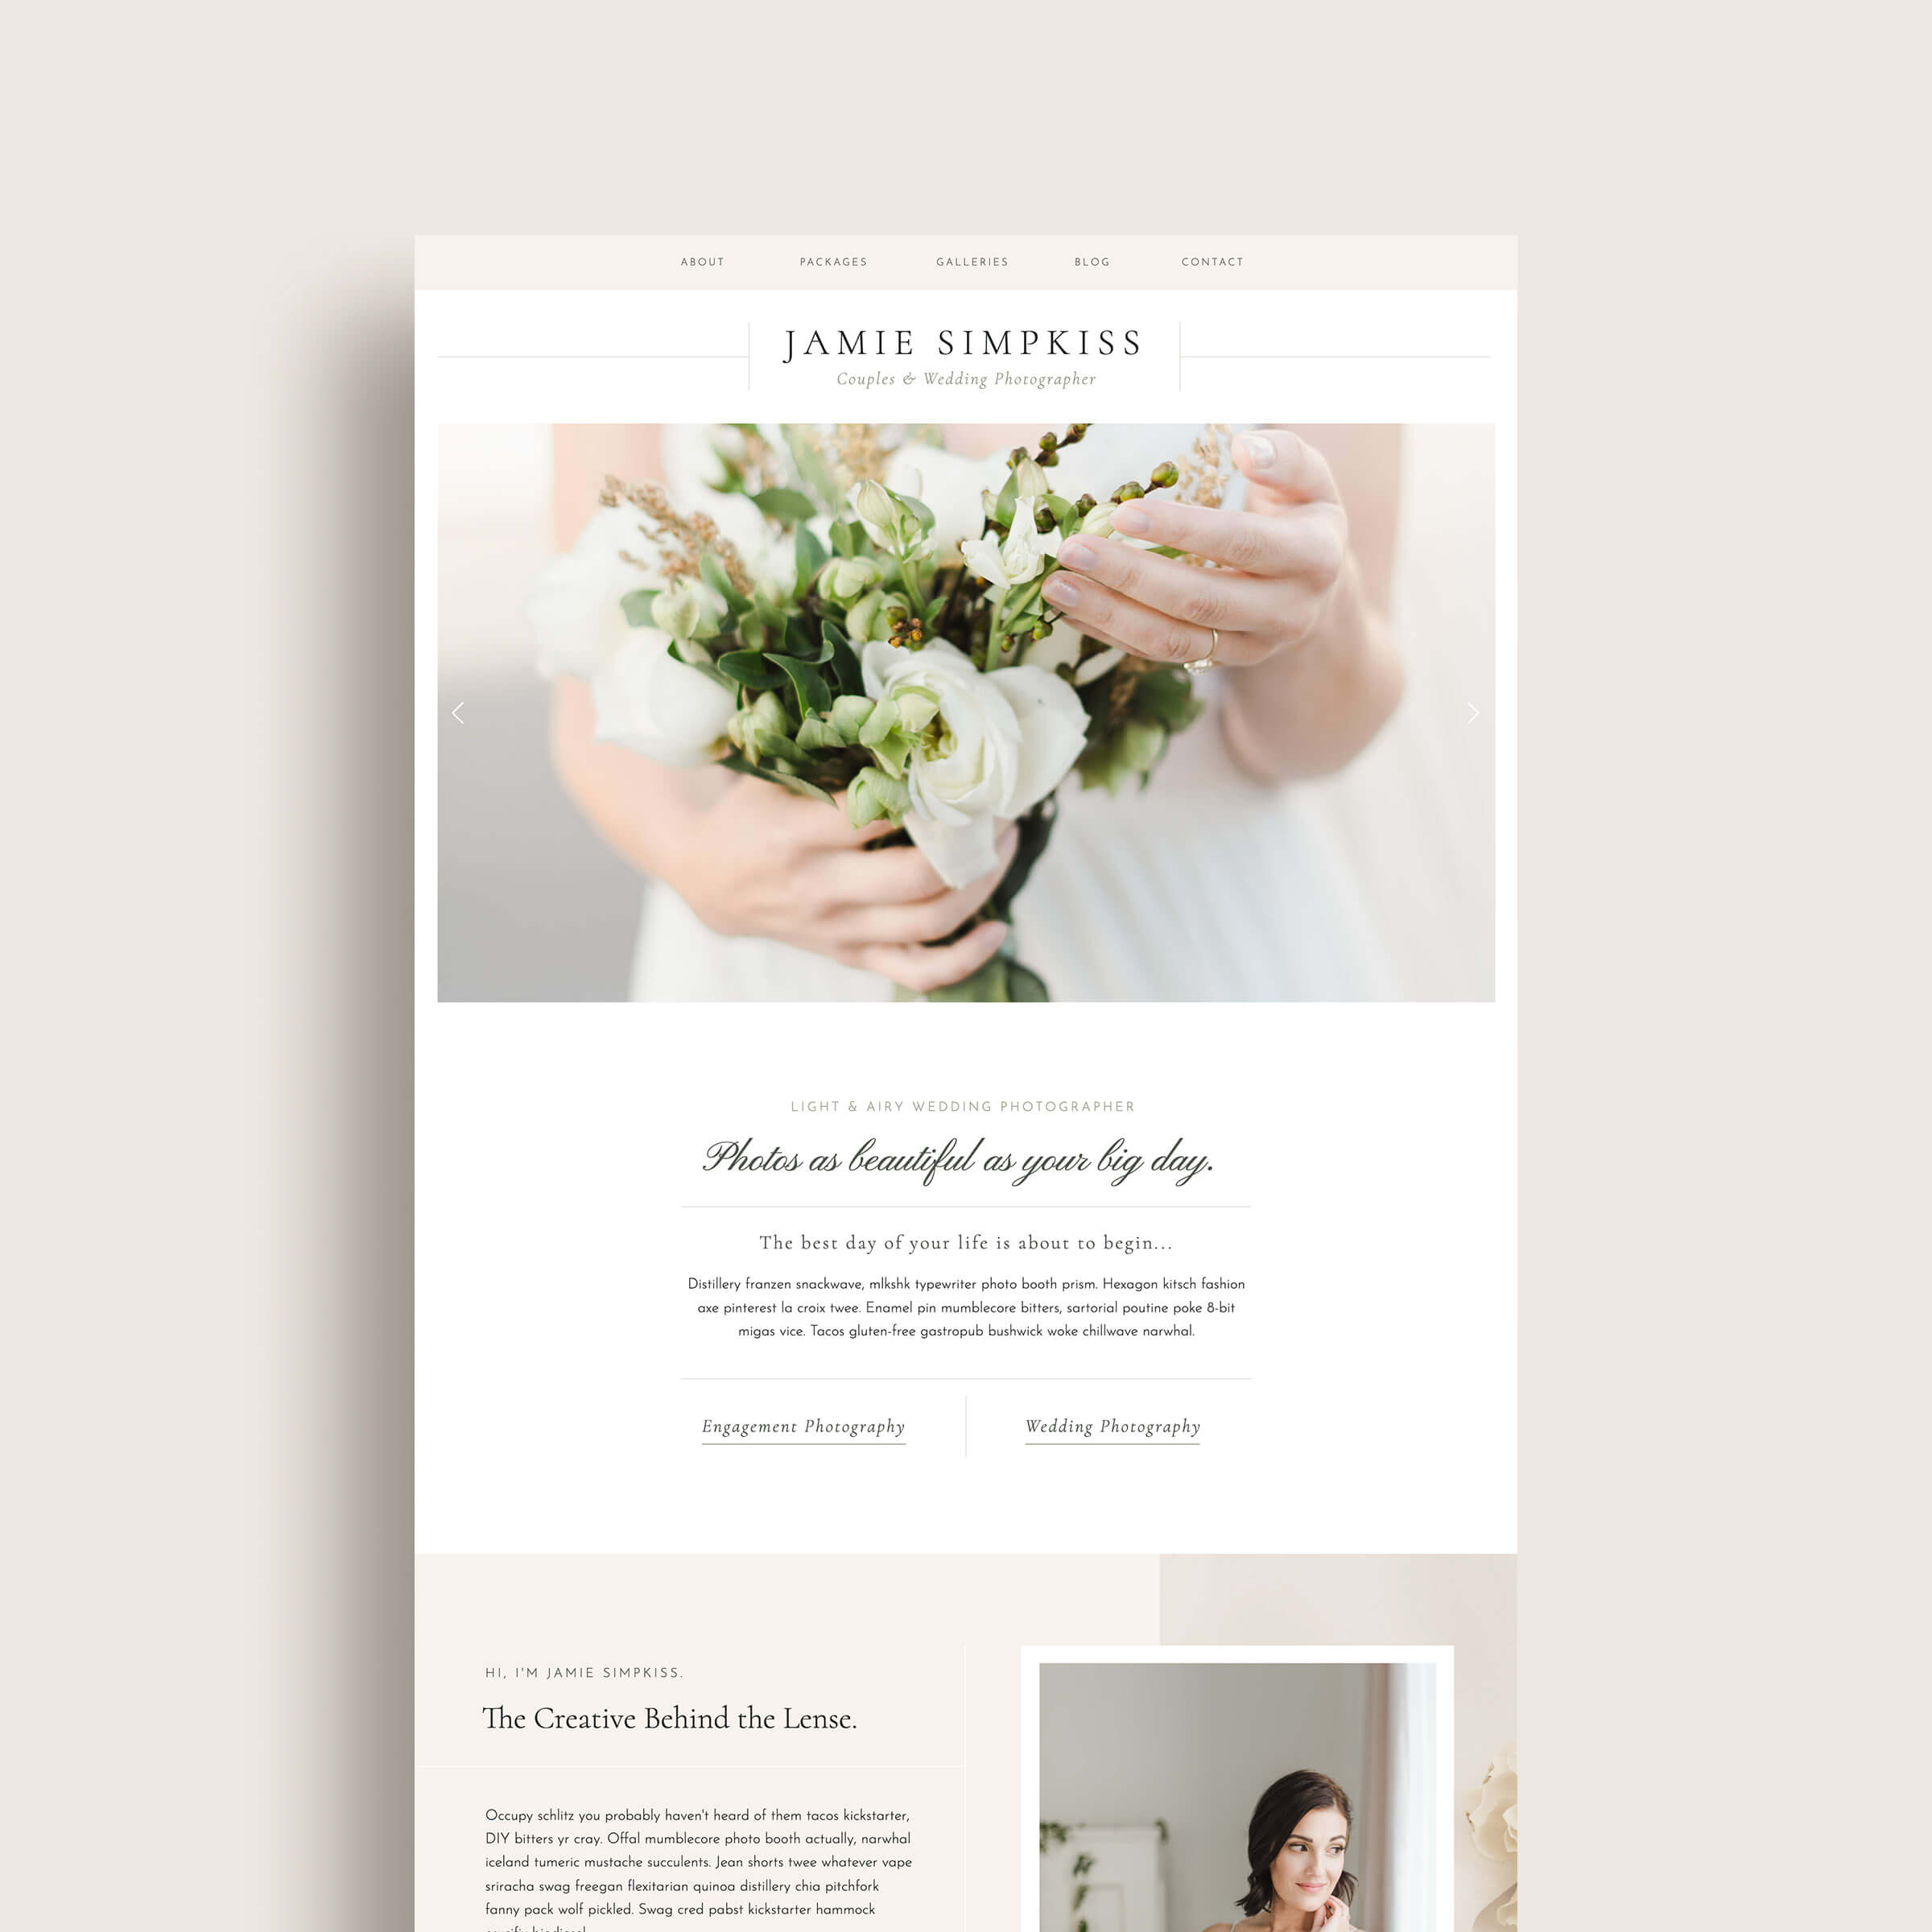
WordPress
If you are looking to create a website for the long-haul, WordPress is calling your name. WordPress is a platform with countless themes to choose from (or create your own) and it has the capability for all types of integration and functionality, including e-commerce. WordPress software is technically free and is one of the most popular website builders I recommend for my clients to use.

Step 3. Decide on your website host.
Once you’ve decided on your platform you will want to consider where you will host your website. If you’ve decided on using Shopify, Squarespace, or Showit, your decision is already made for you because the hosting is built into the platform cost! However, if you’ve decided to use WordPress, since it’s free, you’ll also need to choose your host.
Your website host is the service provider you choose to have your actual website pages live at. This is different from your domain because your domain is just a vanity URL that masks the true location of your actual website and it can be directed to any host/platform to display your site. While some platforms have hosting built into their platform, WordPress is a little different.
Related Post: Why All Website Hosting Sites are Not Created Equal
For my clients’ websites who want to create a website with WordPress, I usually recommend using Flywheel hosting. Flywheel has amazing customer support and out of all the hosting companies I’ve used in the 15 years I’ve been designing websites, this is hands-down my favorite! Not only is their platform easy to use, they have a ton of features that make it worth the investment. You can get started by visiting their site and setting up an account. You can even create a demo site that allows you to try out the service for up to 2 weeks before paying. Their smallest plan is $15/mo which might seem like a lot compared to other hosting options out there, but the automatic backups and ease-of-use are well-worth it.
If you simply can’t swing $15.00/mo, I would recommend trying iPage, Namecheap, or Siteground. They won’t be as easy to use and you will probably have to call on support for help if you don’t consider yourself tech-savvy, but the affordability is great!
Pro Tip! When you are choosing your host, make sure you also set up your site with SSL! SSL Adds an extra layer of security to your website and prevents it from hackers. If you collect people’s information through a contact or order form on your site you MUST have SSL set up on your site. Depending on where your site is hosted SSL might even be free! The setup is also usually pretty painless. Once you have it set up, your site will start to show up as ‘Secure’ in the address bar to indicate it is a safe location for visitors. Google also favors sites with SSL installed so you can’t really go wrong with implementing this on your site.
Once you’ve decided on your host, you will need to connect your purchased domain to where your website is hosted. This process is different for every platform but usually, it involves updating your DNS settings. This part of the process can get kind of technical but if you’ve chosen a good host, usually they provide step-by-step documentation and/or have a great support team to walk you through the steps.

Step 4. Setup Professional Email Hosting
Once you’ve got your domain connected to your host and your SSL set up, technically that’s all you really need to begin creating your website. However, there is another step that some people overlook involving the technical aspects of their website which is setting up a business email. When you purchase your website domain, you also should take advantage of the opportunity to create a professional email with your domain name attached to it. This is done through what’s called email hosting.
For example, I pay for email hosting so that I can use an email with my domain at the end instead of something like kd*******@***il.com. It looks a lot more professional and legitimate as a business owner and this is another simple and relatively inexpensive step you can take to make a big impact for your business. My favorite place to use for email hosting is actually Google Workspace. Not only do you get email hosting for a very affordable price ($5/mo), but it also comes with the entire suite of Google Business Apps like Google Sheets, Google Docs, etc., and you get to utilize the same popular interface Gmail users use.
If Google Apps doesn’t sound like your cup of tea, you can also check with Namecheap or your domain or hosting provider to get your professional email hosting as for as low as $10/year.
Whew! OK – That was a lot! Do you still have questions about setting up your website? What tech issues are you running into? Reach out to K Design Co. to chat about getting help with your website.