Visualizing something is often the first step to turning it into reality. This is the principle behind why you might be interested to create a mood board.
What is a Moodboard?
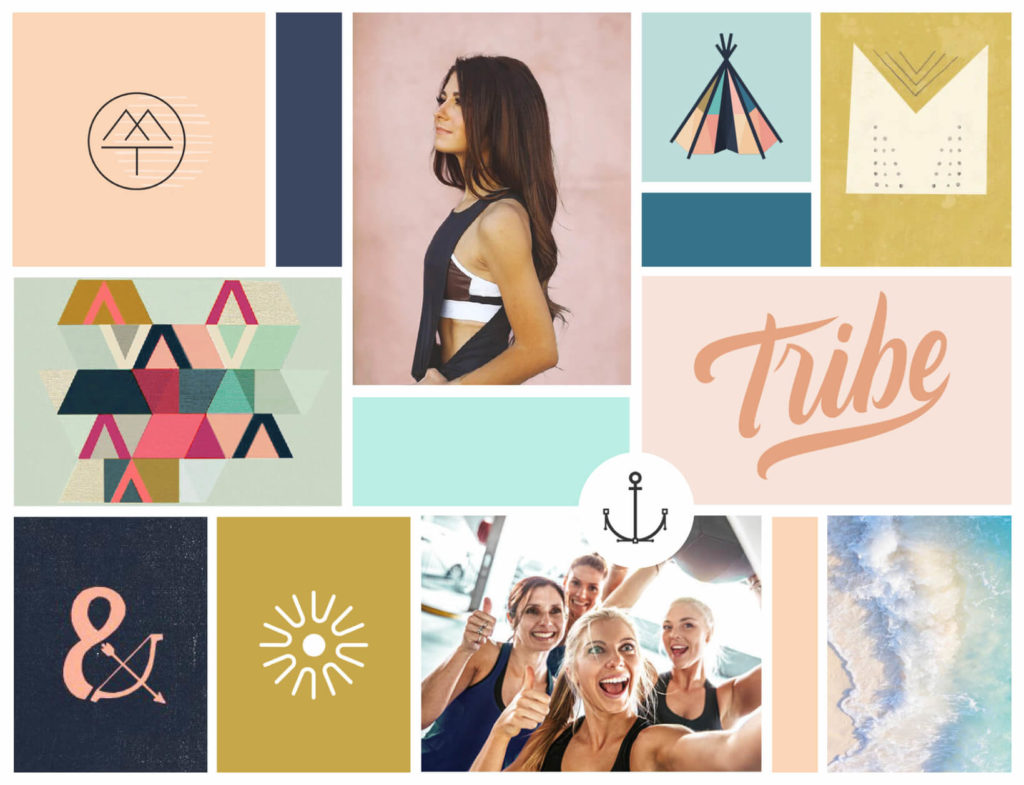
A moodboard is an inspirational visualization of a concept, often created using a collage of images, colors, graphics and words. Creative professionals like designers, photographers and event planners use moodboards frequently in their professions, but truly anyone can create a moodboard. You can create a moodboard for an event you are planning, a room you want to rennovate, a goal you want to achieve, or even your personal or business brand.
How does a Moodboard Work?
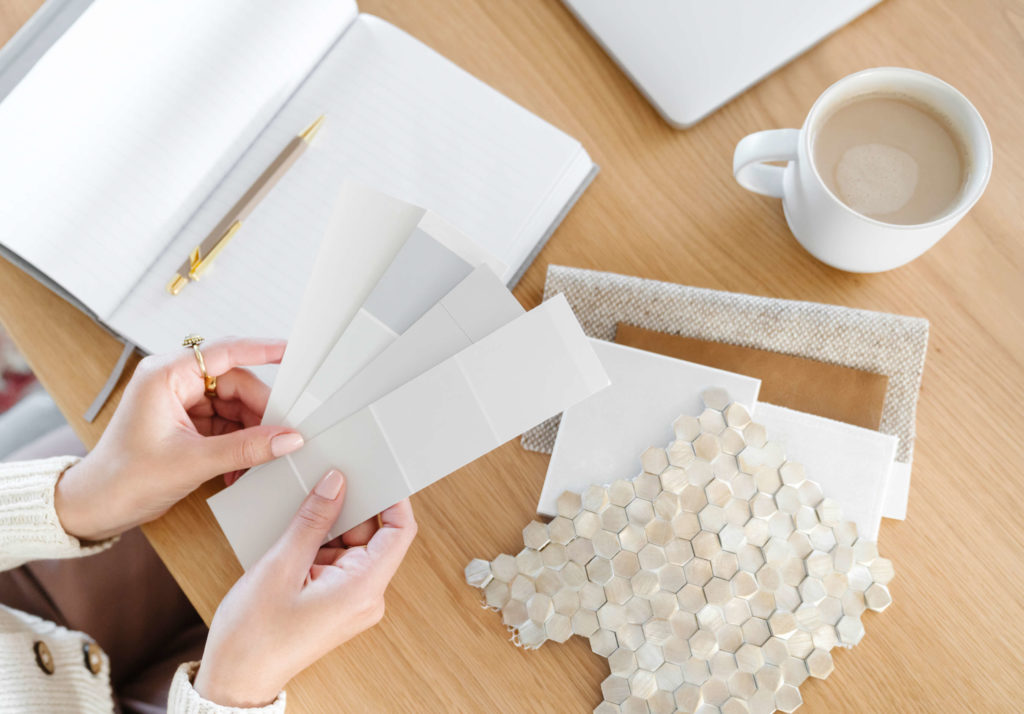
Creating a mood board is a common part of the branding process because it allows you to visualize what you want your brand to look and feel like before you design your logo or website. In a sense, it creates a mood for your business.
- Should your business be modern and sleek or colorful and fun?
- Should you use patterns and graphics or high-end photography for your brand?
- What style of logo will work best for your brand to attract the right customer?
These are the kinds of question that a moodboard can help you start to answer when using it for your brand.
The process of creating your moodboard is almost as important as the final result because it allows you to experiment with what works and doesn’t when it comes to your brand and also it forces you to the consider aspects of your brand that you might otherwise overlook.
How to Create a Moodboard
Whether you make yours digitally or by hand, there is no one right way to create a moodboard. Here are the steps that I use in my own process that can help guide you.
01. Define your moodboard’s theme.
Defining a specific theme or objective of your moodboard will help you keep it focused instead of just adding whatever seems interesting. To start, brainstorm 5-10 specific adjectives that stir up the visuals in your head of what you want your brand to represent. These adjectives should align with what you want your ideal audience to feel when they look at your brand. Avoid generic terms like cool, interesting, nice and instead try words that evoke feelings, emotions and visuals ie. strong, warm, rich, fresh, delicate, feminine etc.
02. Choose your format.
Decide if you prefer a hands-on approach, using paper, photographs and other materials, or if you are going to create a digital moodboard design. With either method you can try a structured grid style or a style that’s more layered and collage-like. I like to use a grid format for my mood boards but there’s nothing wrong with going for a more organic approach either.
03. Gather inspiration for your moodboard.
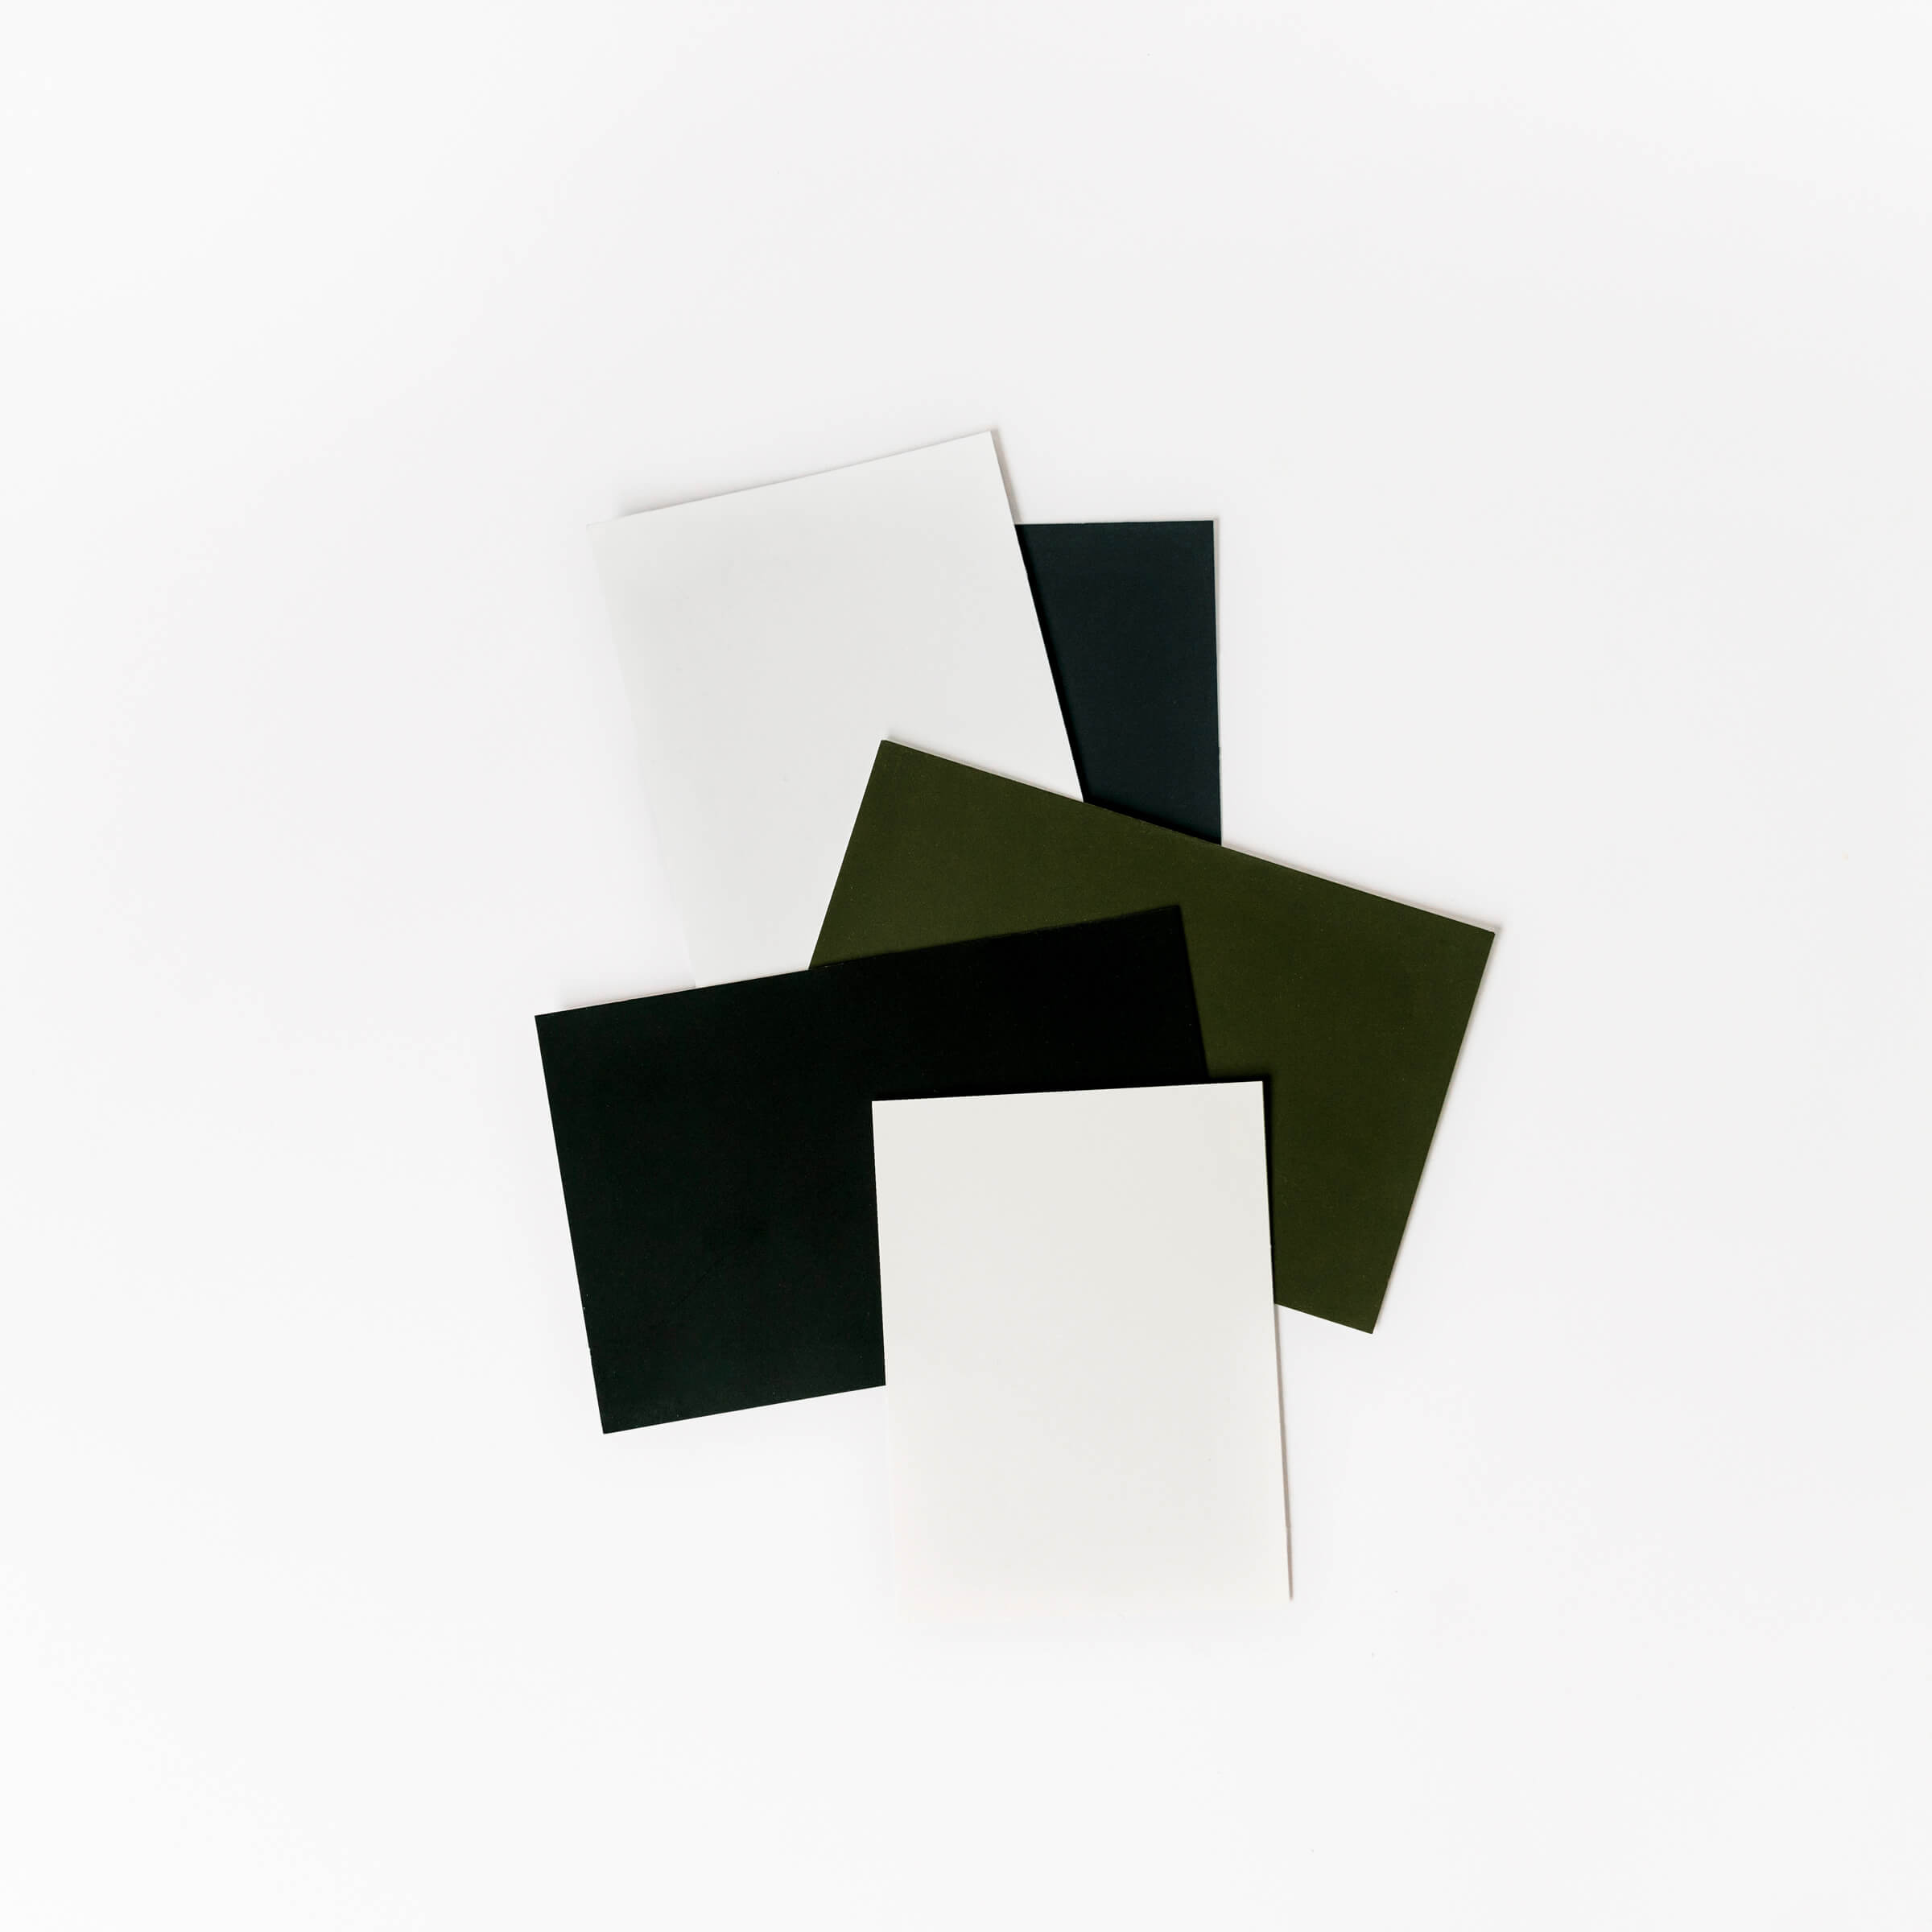
Once you have a list of your top 3-5 adjectives and decided on your format, research and collect at least 30-40 visuals that align with those words. These can be photographs, illustrations, color palette ideas, patterns, graphics, fonts and anything that inspires you! You can use Pinterest, Dribbble, Color Seeds or any other design libraries or photo sites to help you find inspiration. If you are creating your moodboard by hand, magazines, books, paint swatches, postcards, greeting cards are all great places to find inspiration.
04. Edit down your inspiration.
Now that you’ve come up with a lot of inspiration, it’s time to choose the best of the best! Using too many images will just make your message muddy but using too few might not get your point across. Besides your colors swatches, try to narrow down your moodboard images between 7-12 images that align best with your theme and desired message. Technically, there isn’t an exact right number of final images that your board should include, but I aim to make each element I add to the board have a unique quality that adds something new to the board that is not already being shown through another image.
05. Finalize the moodboard design.
Experiment with the placement of all of your visuals so that everything feels balanced. My process usually involves mixing and spacing fonts, images and colors evenly so no side of my design feels too heavy with a certain type of visual. Experiment with different combinations and proportions of visuals in your layout until you are happy with the final result and everything feels aligned to your theme and cohesive with each other.
06. Double-check your work.
To create a mood board that is effective you have to ensure that all of the visuals represented tie together and create a cohesive story about your brand. In the end, you need to be inspired and able to discern the adjectives and major theme you started out with. If you are trying to achieve a bold and fun brand, when you look at your moodboard it should feel bold and fun! Plus, you’ll know you’ve done it right when you look at the final product and feel all warm and fuzzy inside!
07. Show off your moodboard!
Once you’ve completed the design, you should show off you work. Snap a photo to share it on social media or make a framed print of it to hang up in your office. You could even document your entire creation process as a story idea for Instagram. Your moodboard will be a reminder of the goal you set out to achieve or message you are trying to communicate. If creating a moodboard was part of a branding process, the next step will be to create your logo, inspired by your finished moodboard design.
Related Post: The Best Program to Design a Logo – It’s Not What You Think!
Have you created a moodboard for your blog or business? Or if you are struggling with translating your ideas into visuals and need help with your brand design, reach out to K Design Co.
