

If you’re looking to add a shop on your Showit site and make your transition into selling products on your website as smooth as your favorite cold brew, Thrivecart is a great option.
Thrivecart is one of the best ways to start selling products on your website because the setup is super easy compared to other e-commerce solutions. We know firsthand because we use this on the K Design Co. website to sell our brand kits!
With the one-time cost*, it’s also a no-brainer investment if you are just starting to dip your toes into the world of digital (or physical) products.
(This article contains affiliate links, which means I may receive a commission for purchases made through links in this post at no extra cost to you. I only recommend products I 100% believe in. Read the Privacy Policy for details.)
Related Post: Thrivecart: Everything You Need to Know About The Shopping Cart App
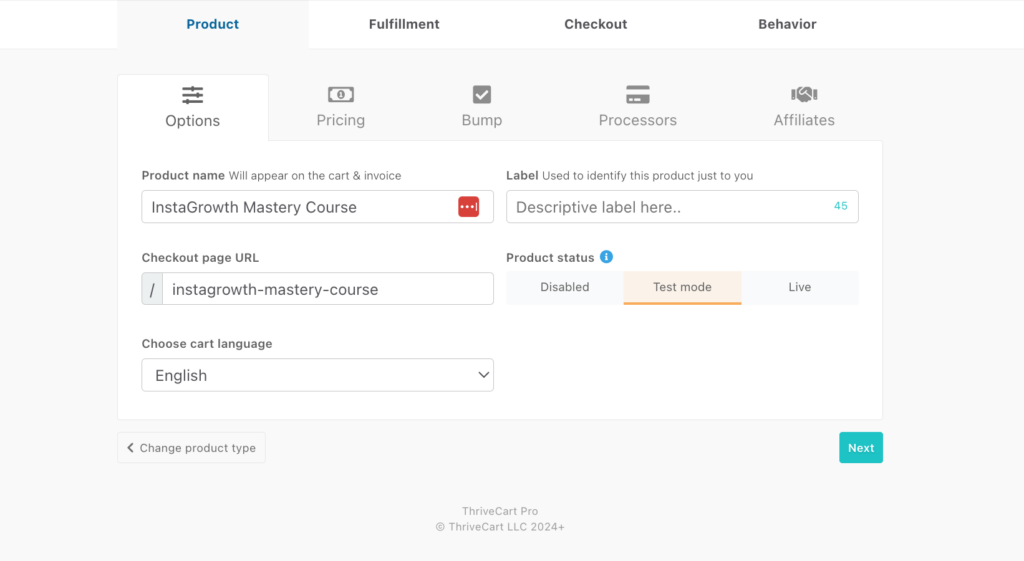
1. Create Your Product in Thrivecart
First things first, let’s get your product up and running on Thrivecart.
- Choose Your Product Type: Are you selling a physical product or a digital one? Thrivecart works well for digital products like e-books, courses, but can also be used for physical products like books.
- Name Your Product: Give it a name that’s both unique, but also describes what your product is.
- Define Your Price Options: Decide how you want to price your product. One-time payment? Multiple installments? Both? Think about what makes it easy for your audience to click Buy.
- Add an Order Bump (Optional): Consider offering an order bump ie. a cheat sheet or other resources for an extra $5 right before checkout to increase your average purchase value.
- Set Your Payment Processor: Connect to Stripe, PayPal or Authorize.net to handle transactions.
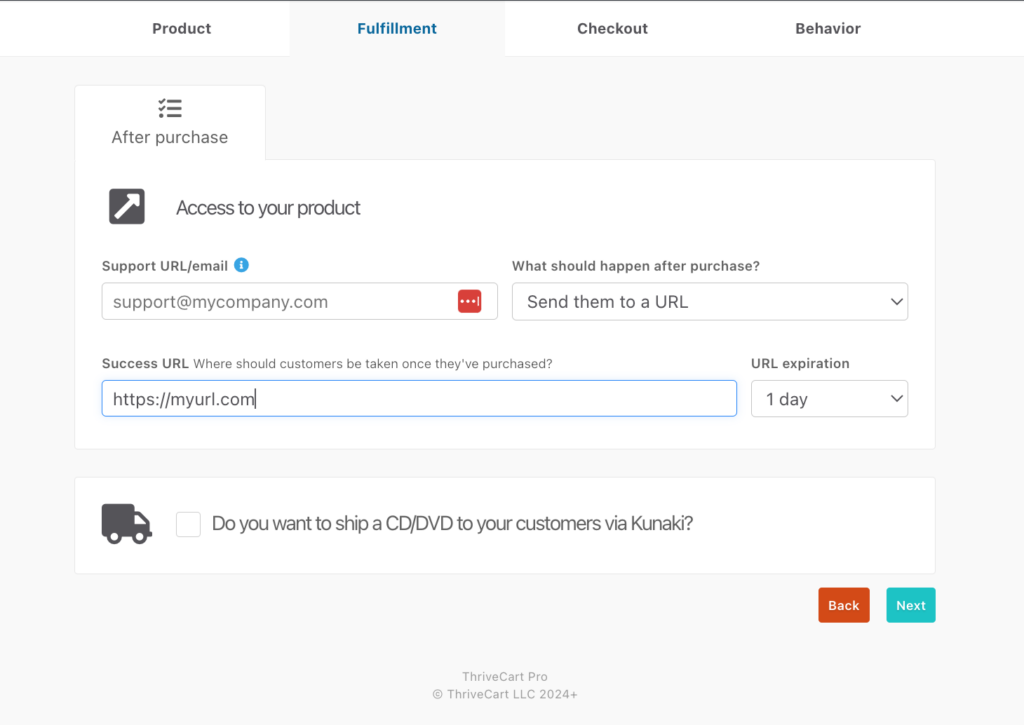
2. Choose the Post-Purchase Behavior
What happens after someone buys your product? You’ve got a few different options…
- Redirect to a Landing Page: Maybe you want to say, “Thanks for purchasing! Here’s your download link.” This is a great choice for digital products where you want to share a file after they checkout.
- Show Them Their Invoice: A straightforward “Here’s what you just bought” page. Would likely be the option that makes the most sense for a physical product.
- Add Them to a Membership Site: If your product includes a course, use Thrivecart Learn or another platform to enroll them automatically.
3. Customize Your Checkout Experience
This is where you make the magic happen.
- Choose Your Checkout Style: Landing page or modal pop-up? The modal pop-up is my fave because it keeps the checkout experience seamless without leaving your sales page and keep your sales page design cohesive with the rest of your Showit site.
- Customize Your Checkout Page: Add custom fields if you need extra info from your customers.
- 1-Step or 2-Step Checkout: Decide if you want a quick checkout or a more detailed process. If you use a 2-step checkout, you’ll have the ability to capture someone’s email address even if they don’t complete the checkout process.
- Add Your Brand Styles: Make sure your checkout matches your brand’s styles by customizing the fonts, colors and button styles.
- Tracking Pixels: Add Google Analytics or Facebook pixels to track your conversions.
Related Post: 5 Essential Elements for Creating High-Converting Sales Pages

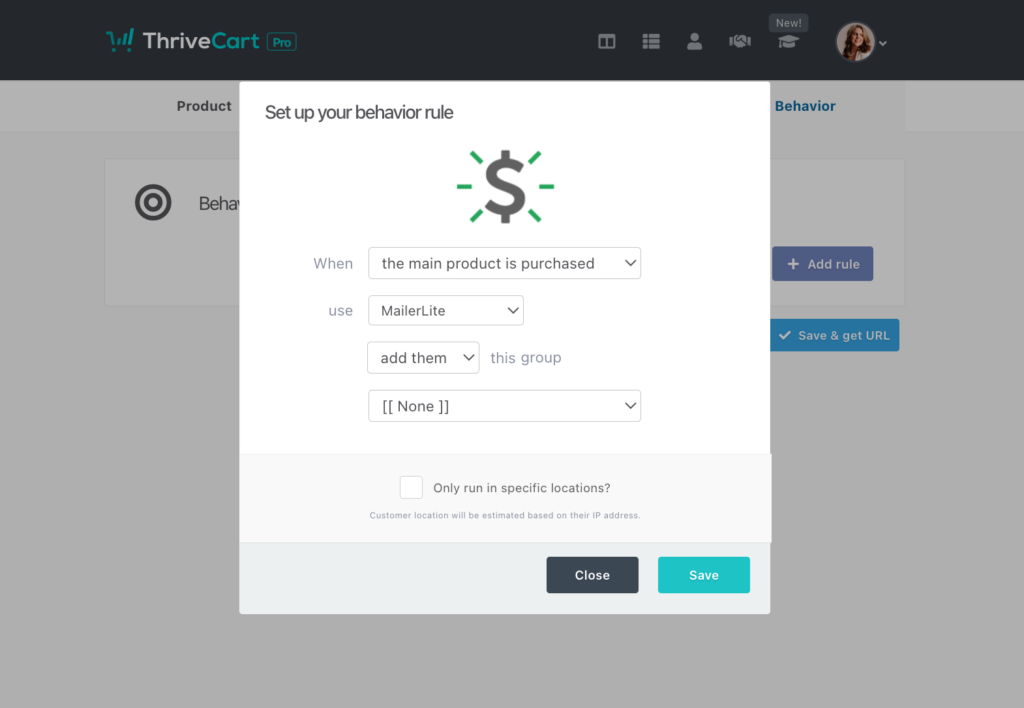
4. Add Automations
Depending on what service you are trying to connect to you will have different options when it comes to adding automations to your product…
- Add Customers to Your Email List: Automatically add buyers to your email list when you product is purchased so you can keep them updated with your latest content and offers.
- Pre + Post-purchase Behaviors: You can also add rules for when customers abandon the cart (using a 2-step checkout) or when an upcoming payment is due (on a subscription product).
5. Get Your Landing Page URL or Button Code
Now, let’s grab those links and codes.
- Landing Page URL: If you created a landing page, just copy the URL provided. Can’t be any simpler than this.
- Modal Pop-Up Button Code: If you’re using a modal pop-up, copy the button code Thrivecart gives you.

6. Add Your Link or Button to Your Showit Site
Finally, add your new product to your Showit site.
- For a Landing Page: Add the URL to a button you’ve created in Showit. Set the click action to link to your Thrivecart landing page.
- For a Modal Pop-Up: Insert an embed code box in Showit and paste the HTML code for your button. Customize it with CSS to make sure it looks on-brand. (The legacy checkout experience allowed you to customize your button’s color and style in Thrivecart, but the new checkout experience you’ll need to use a little CSS to format it.)
And that’s it!
Extra Tips for Success
- Test Everything: Before going live, make sure to test your checkout process. You can use Thrivecart’s built-in Test mode to try to buy your product to see if everything works seamlessly or create and use a coupon to make the purchase 100% free.
- Stay Updated: Thrivecart and Showit are always rolling out new features. Keep an eye out for updates to keep your site fresh and functional.
Integrating Thrivecart with Showit doesn’t have to be overly-complicated. With these steps, you’re ready to start selling products and make that sweet moolah.
Need help with your shop setup? Reach out here and ask us about our VIP day options to take your shop integration off your hands.

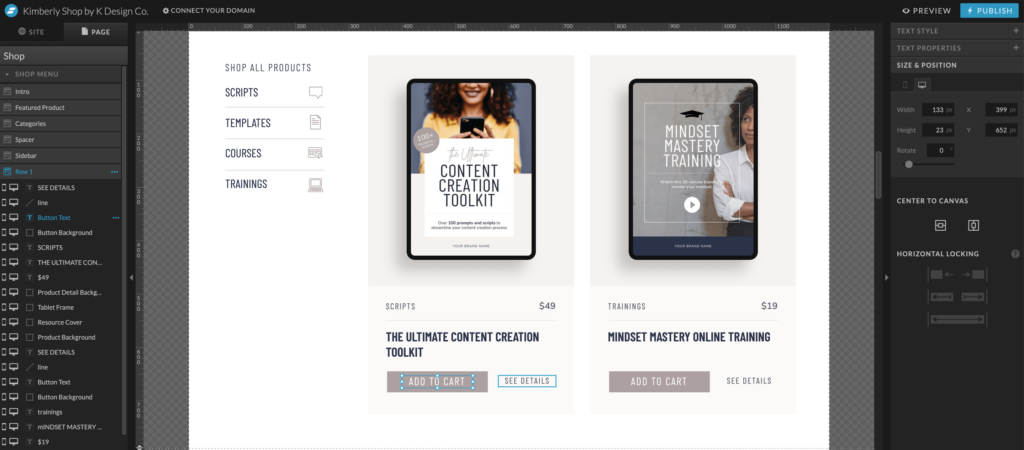
Kimberly – Shop Add-on
The perfect template to help you start selling products on your Showit website.