


Are all the template options and SEO rules giving you heart palpitations? Don’t worry, we’ve been there.
Launching a new website is no small feat, but we’re here to make it less overwhelming.
In this multi-part checklist we are simplifying the website launch process for you. We’ll tell you what you need to know to launch your new website and you can worry about adding all the bells and whistles later.
(This article contains affiliate links, which means we may receive a small commission for purchases made through links in this post at no extra cost to you. We only recommend products we 100% believe in. Read the Privacy Policy for details.)
Before you dive into the mechanics of putting your website together, we trust that you have already done the work to define your website goals – that is, what you actually want to achieve with your website. This will help guide your decisions as you go. Once you’ve done that, you’ll be ready to get started with the first part of a website launch.
Pre-Launch Website Checklist
1. Choose a website host, domain provider and website builder
First, let’s define these terms…
- domain – your website’s address, or the URL (Uniform Resource Locator) ie. Facebook.com or kdesign.co
- website hosting – company you pay storage space for your website files ie. Flywheel, WP Engine, Godaddy
- website builder – an app or software that you use to create your design and layout ie. Showit, SquareSpace, Beaver Builder, Divi
These are three separate things that work together to serve your website to your visitors. Some hosting providers include a built-in website builder tool, such as with Showit or Squarespace, while other hosts allow you to install your own website builders and plugins.
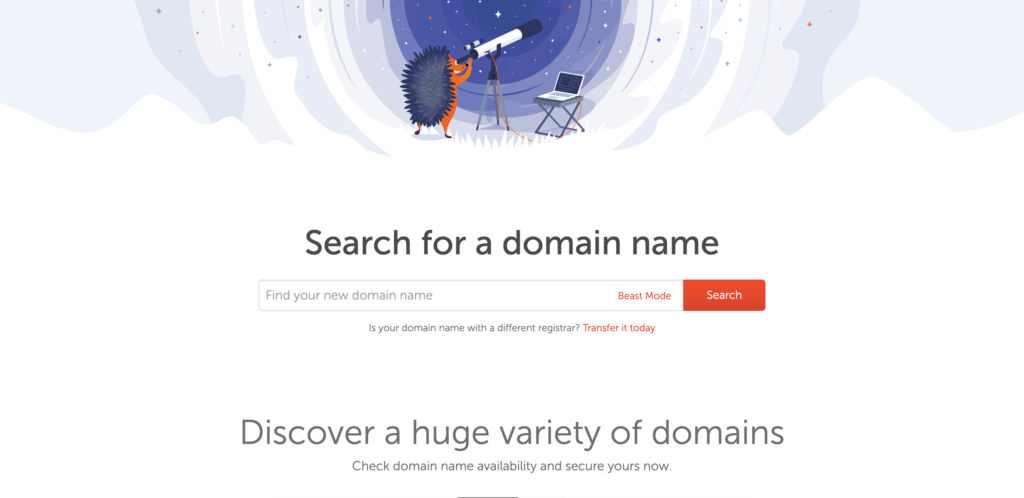
Think of your website like your business’s home on the internet. You wouldn’t start decorating your home until after you bought your house, right? (Buying your home = website hosting, decorating = website builder, got it? Ok.) That’s why the first step to launching a new website is registering a domain and finding website hosting from a provider that works for you. But before you fall in love with a domain, do a quick search with this domain checker* to make sure the domain name you want is not already taken.
Also, it’s important to know when you purchase your domain and hosting, they can be separate, meaning you buy your domain from a site such as Namecheap* or Bluehost, and link it to your host, or you can host your website and register your domain on the same platform, for example, like you can with SquareSpace. This can make things easier in the short-run, but it can also complicate things if you ever want to switch platforms.
Related Post: My Top Tips & Tools for Picking a Domain Name for Your Website
Our best recommendation would be to purchase your domain from a provider that isn’t platform-specific, so if you decide you ever want to switch platforms, you won’t be tied to your old provider.
Another pro-tip: If you decide to work with a website agency or web designer that wants to buy your domain for you, say “No, thanks!”.
Always, ALWAYS purchase your own domain so you have total control over accessing your website.
I can’t tell you how many clients we have had in the past run into some seriously sticky situations where they can’t access their website because their old agency or web designer that bought a domain for them on their behalf, has ghosted them. Don’t leave something as valuable as your domain in the hands of someone else – EVER!
If you don’t already know which website platform or builder you want to use, these are our favorites:
- Showit* is great for visual learners and for businesses who want a unique website that they can manipulate themselves easily without limitations.
- WordPress is great for more tech-savy user who want a website that is easily integrated with a lot of different apps/tools or someone who doesn’t mind a learning curve to DIY their site using a pre-built theme.
- Squarespace is great for businesses who want to get a website up and running quickly who don’t mind the look or limitations of a template.
- Shopify is great for businesses who are e-commerce focused with physical or digital products.
The best option for you depends on what you want your website to accomplish – not whatever some random stranger told you works for them in a Facebook group. You can try this free quiz if you are still having trouble deciding. Once you make a decision and register your domain, you are ready for step two.
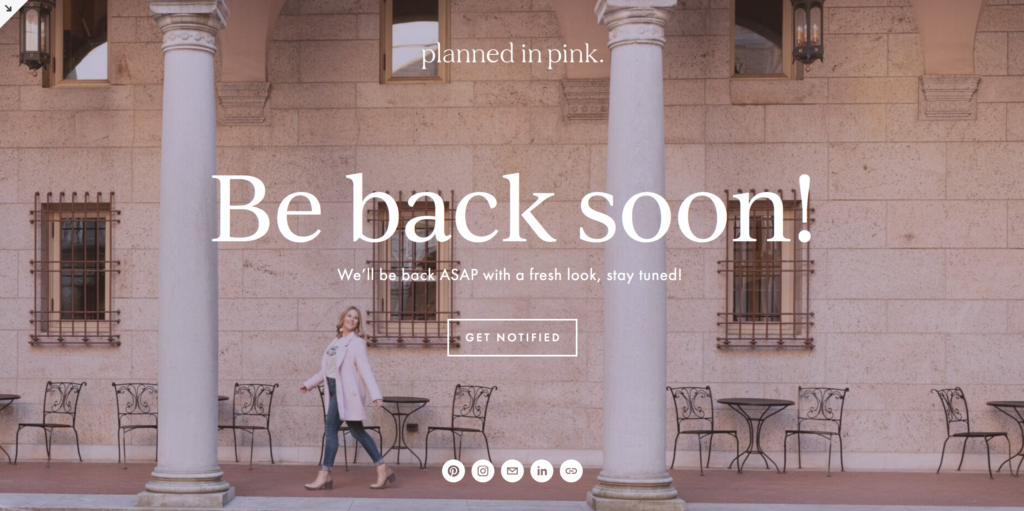
2. Set up a pre-launch or coming soon page
Once you have your platform, hosting and domain secured, you will want to let people know that your new site is in the works. Most website builders have the option to create a ‘coming soon’ page while the rest of your website comes together behinds the scenes. Once your domain is live, then you can make the switch to reveal your beautiful new website. Set up your coming soon page with links to your social media, a short message, opt-in form (See the next step.) and maybe even a countdown timer that counts down to the day of your website launch.
>>> Need a step-by-step tutorial for creating a Coming Soon page in Showit? Watch the tutorial!
3. Create an email marketing account
Email is one of the most reliable forms of marketing, because you own your subscriber list, unlike your social media accounts. If social media crashes (and it has before), how would you connect with your audience? (Hint: it won’t be by carrier pigeon!)
You might be waiting to build your email list until after your website is set up and getting a lot of traffic, but the truth is you don’t have to wait! In fact, we think you should have a sign up form for your email list, on your pre-launch page. This way, you can get a head start on building your audience and have a way to let your audience know when your website is officially launched. On the day of your website launch, you’ll already have a crew ready for the big debut.
Related Post: How to Add a Freebie Download on Your Website that Grows Your Email List
There are so many options you can choose from for your email marketing platform. Here are our suggestions for design, list building, automation, and price*.
Before your website is finished, you can start building and nurturing leads with your email list.
Want to learn more about how you can build your own email list? Listen to this podcast episode from a fellow Showit designer on email welcome sequences!
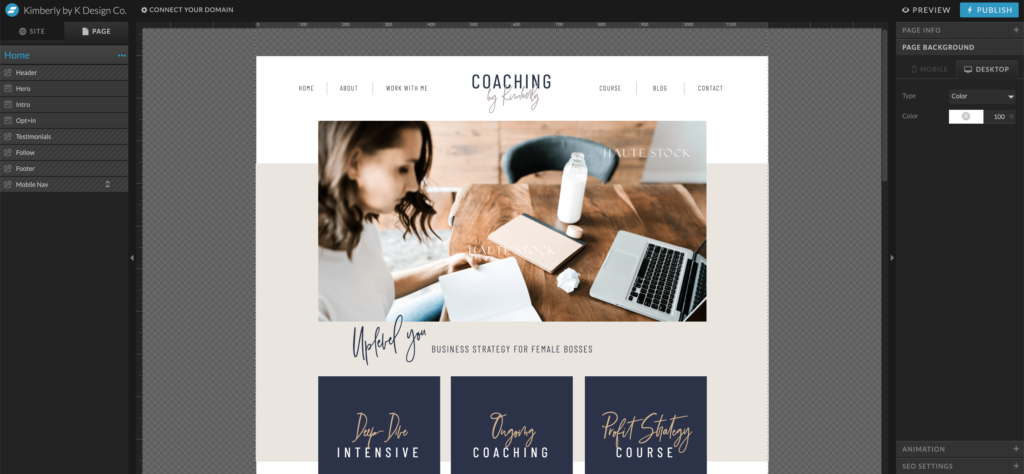
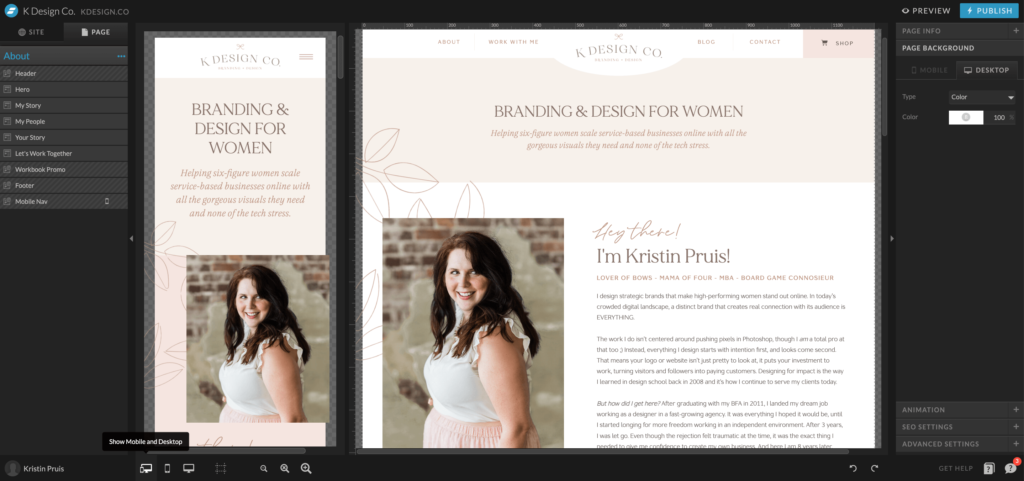
4. Write your content and design your website
Your website isn’t just a place for a catchy slogan and some pretty headshots. You need to consider the full experience your visitors will have from the words you use to the images you show. Once you’ve actually gotten someone on your website, you need to make the most of the opportunity to ensure they stick around and actually engage with your site. Here are some tips that can help you as you are developing your content and beginning to consider your website’s design.
Related Post: 5 Critical Elements to Convert Visitors on Your Sales Page
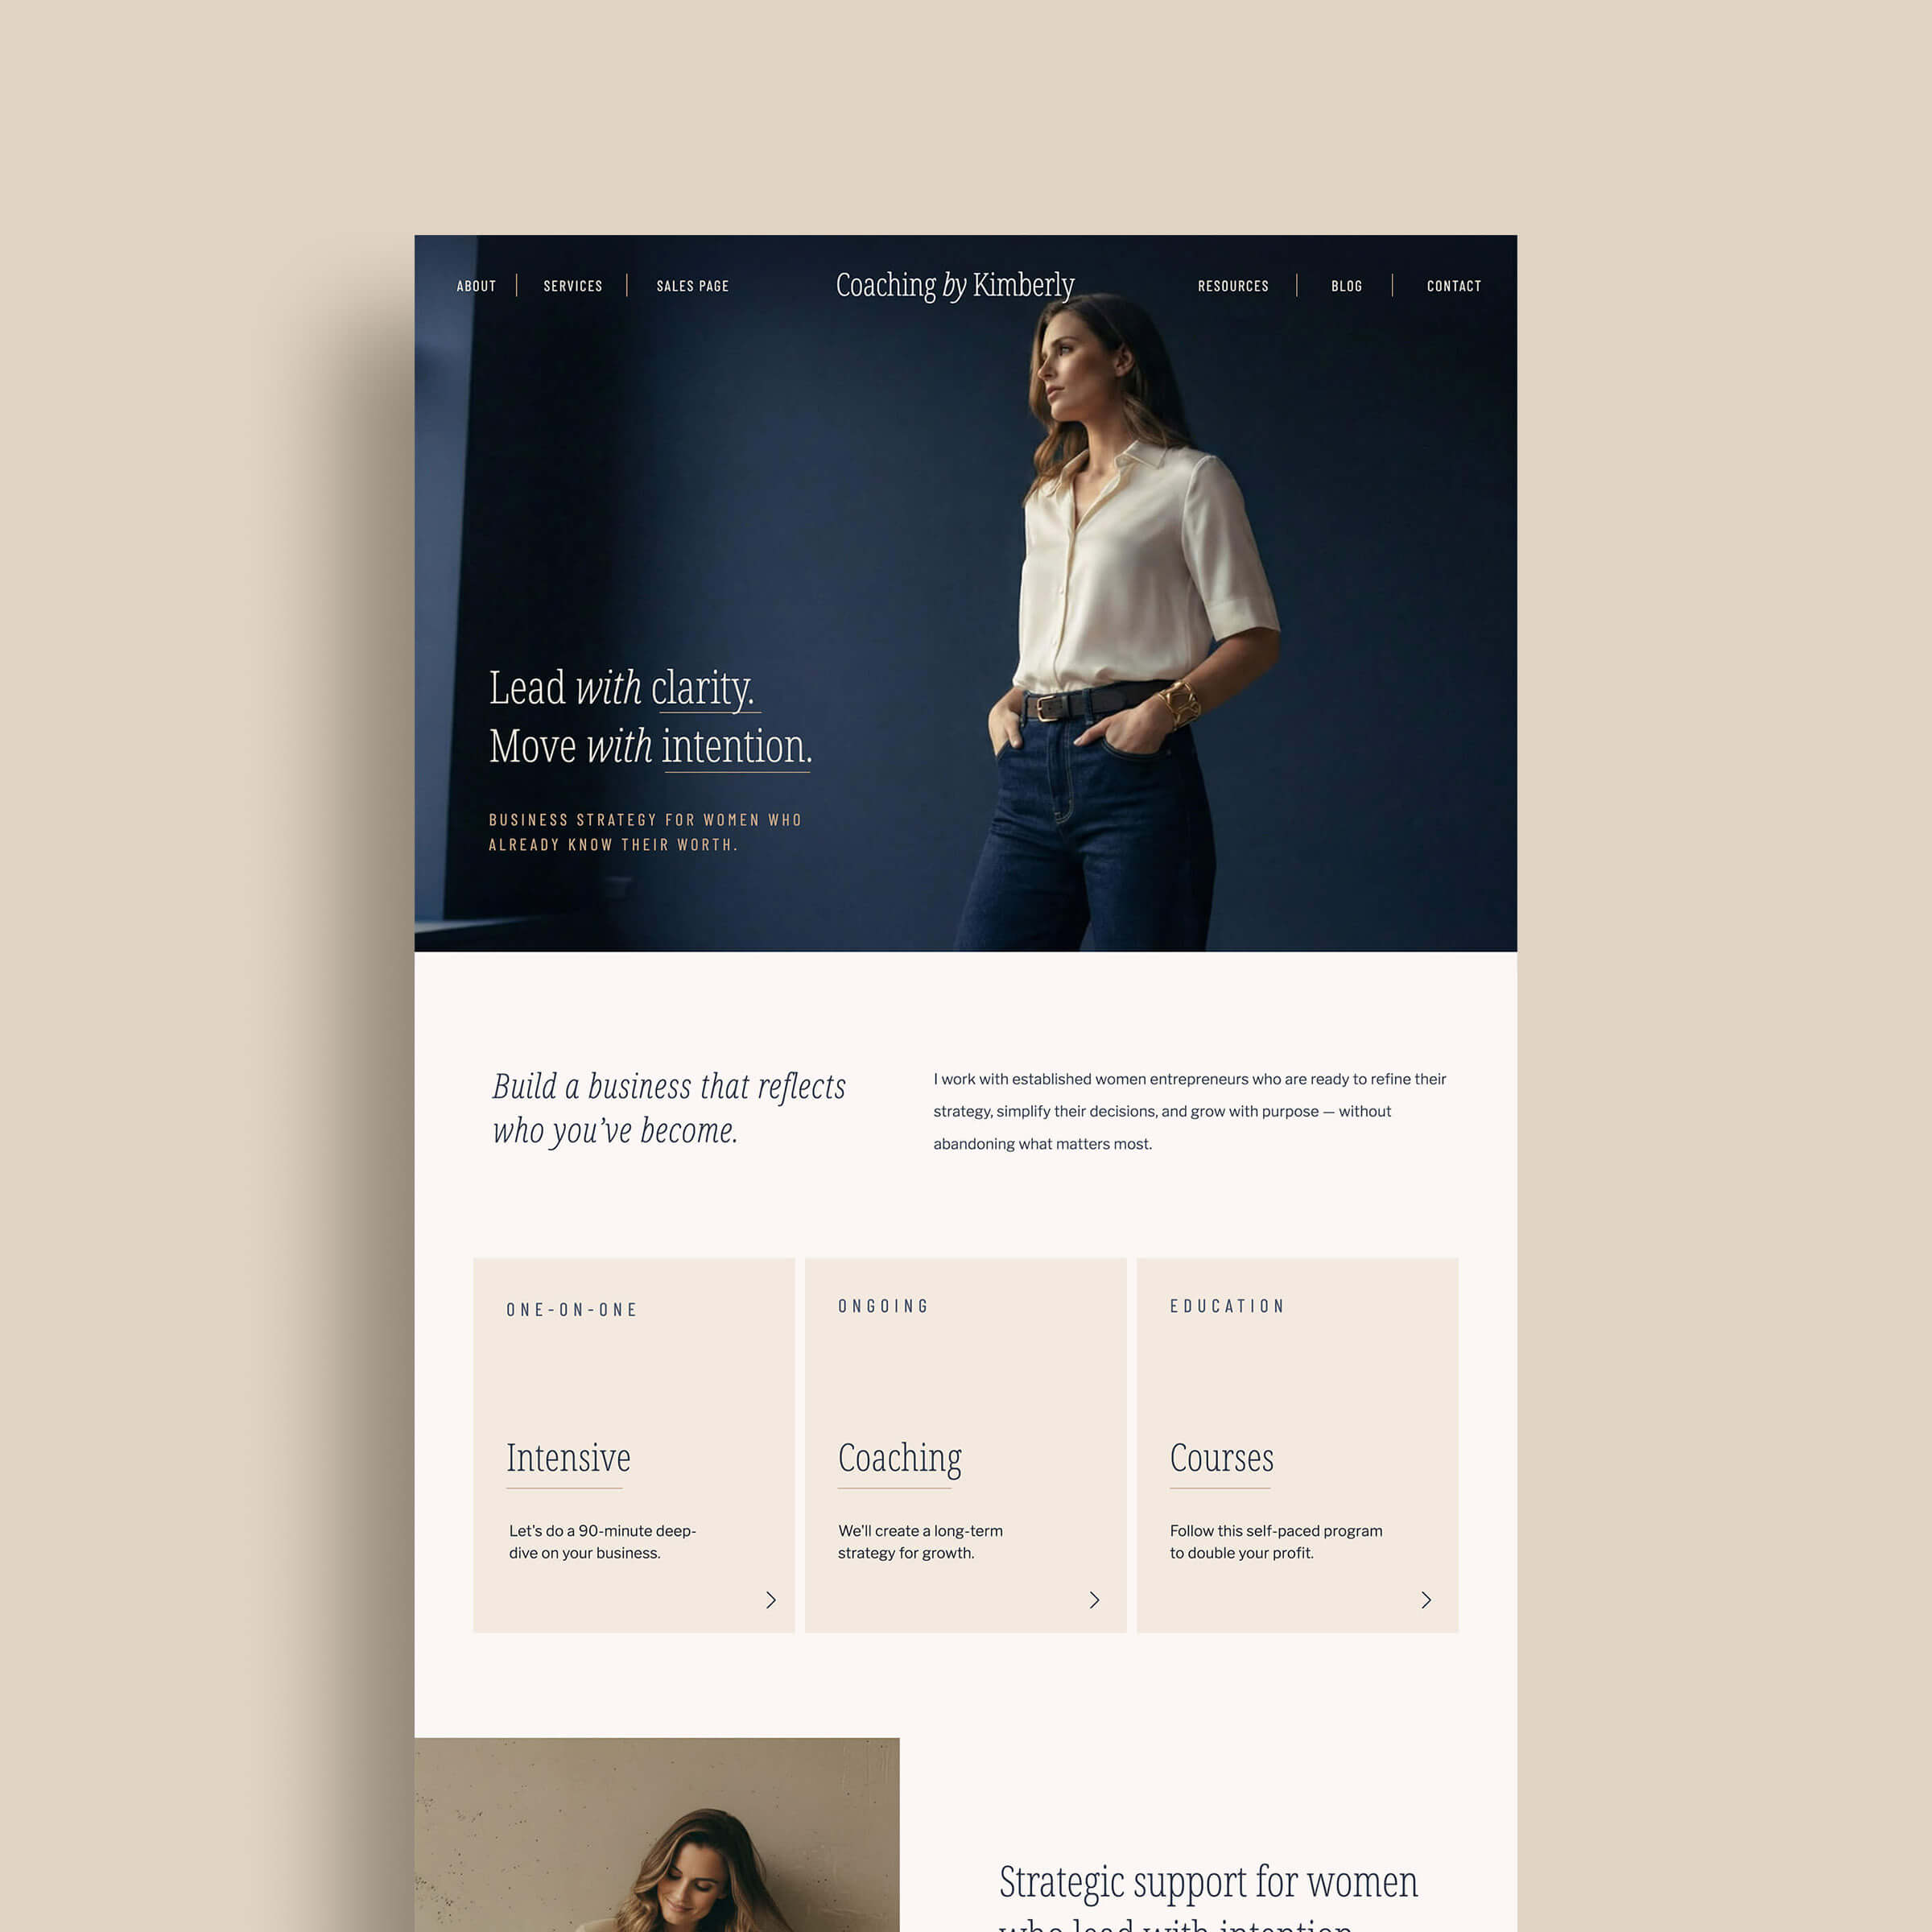
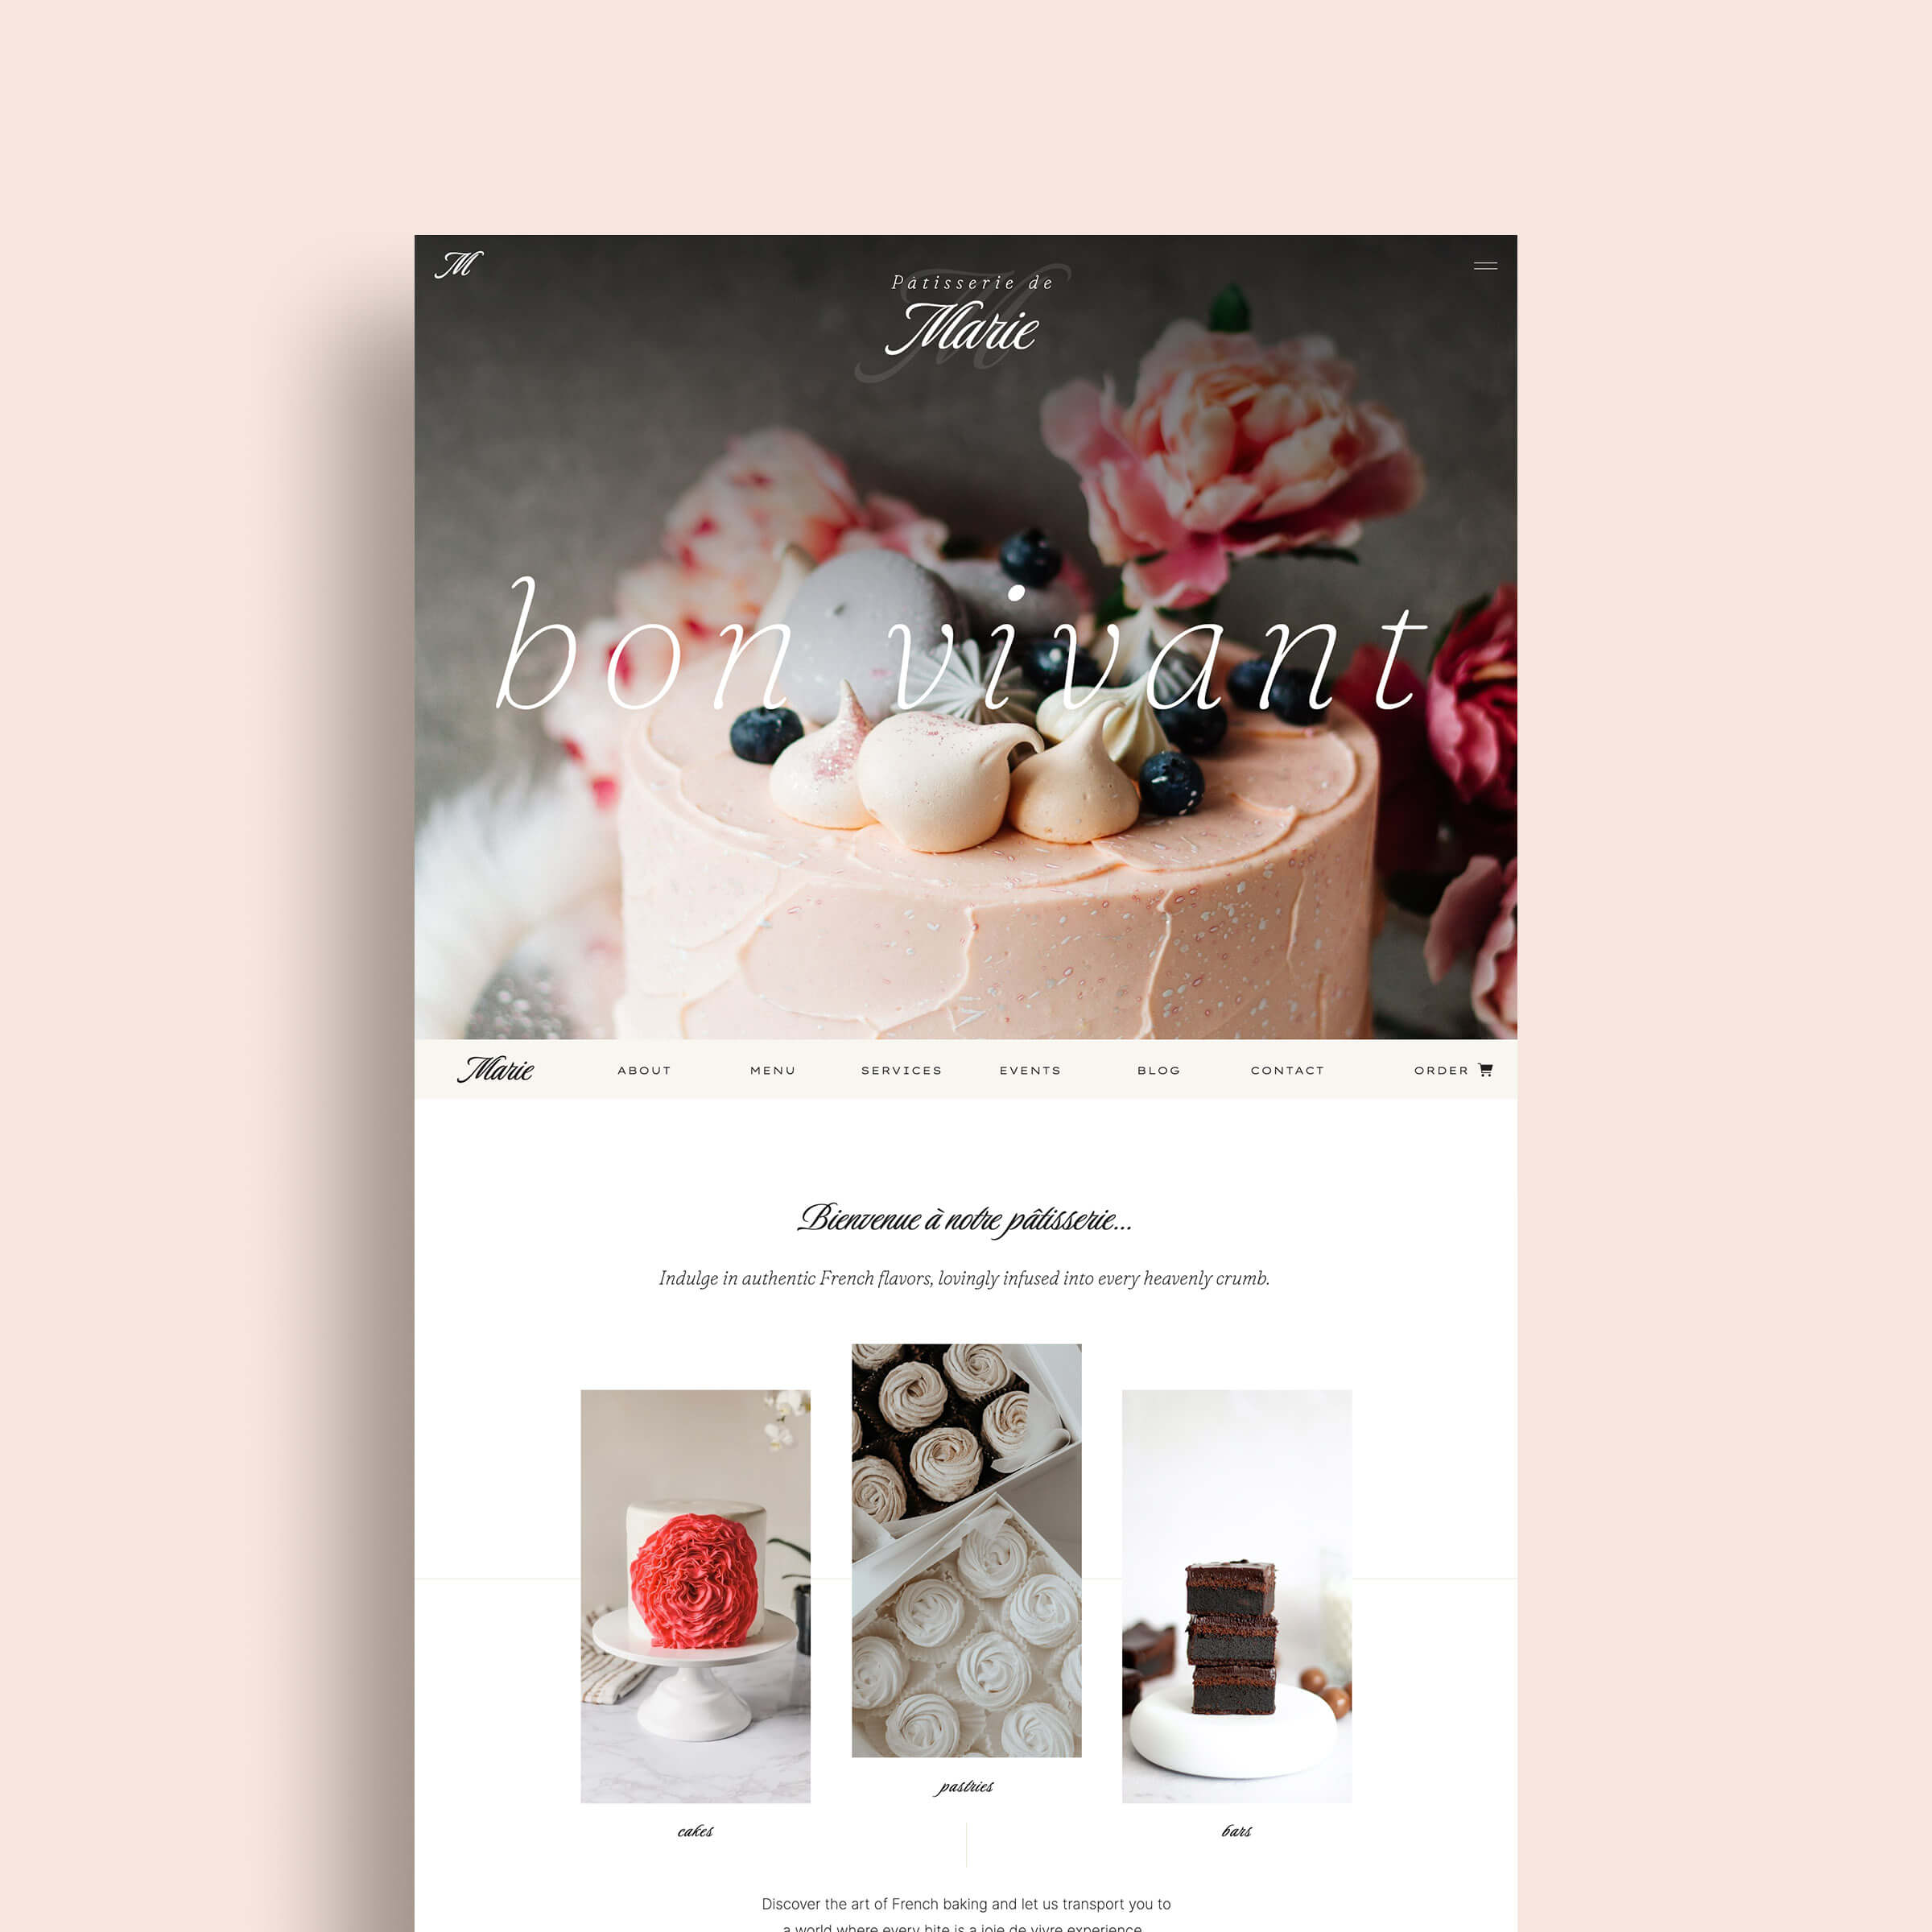
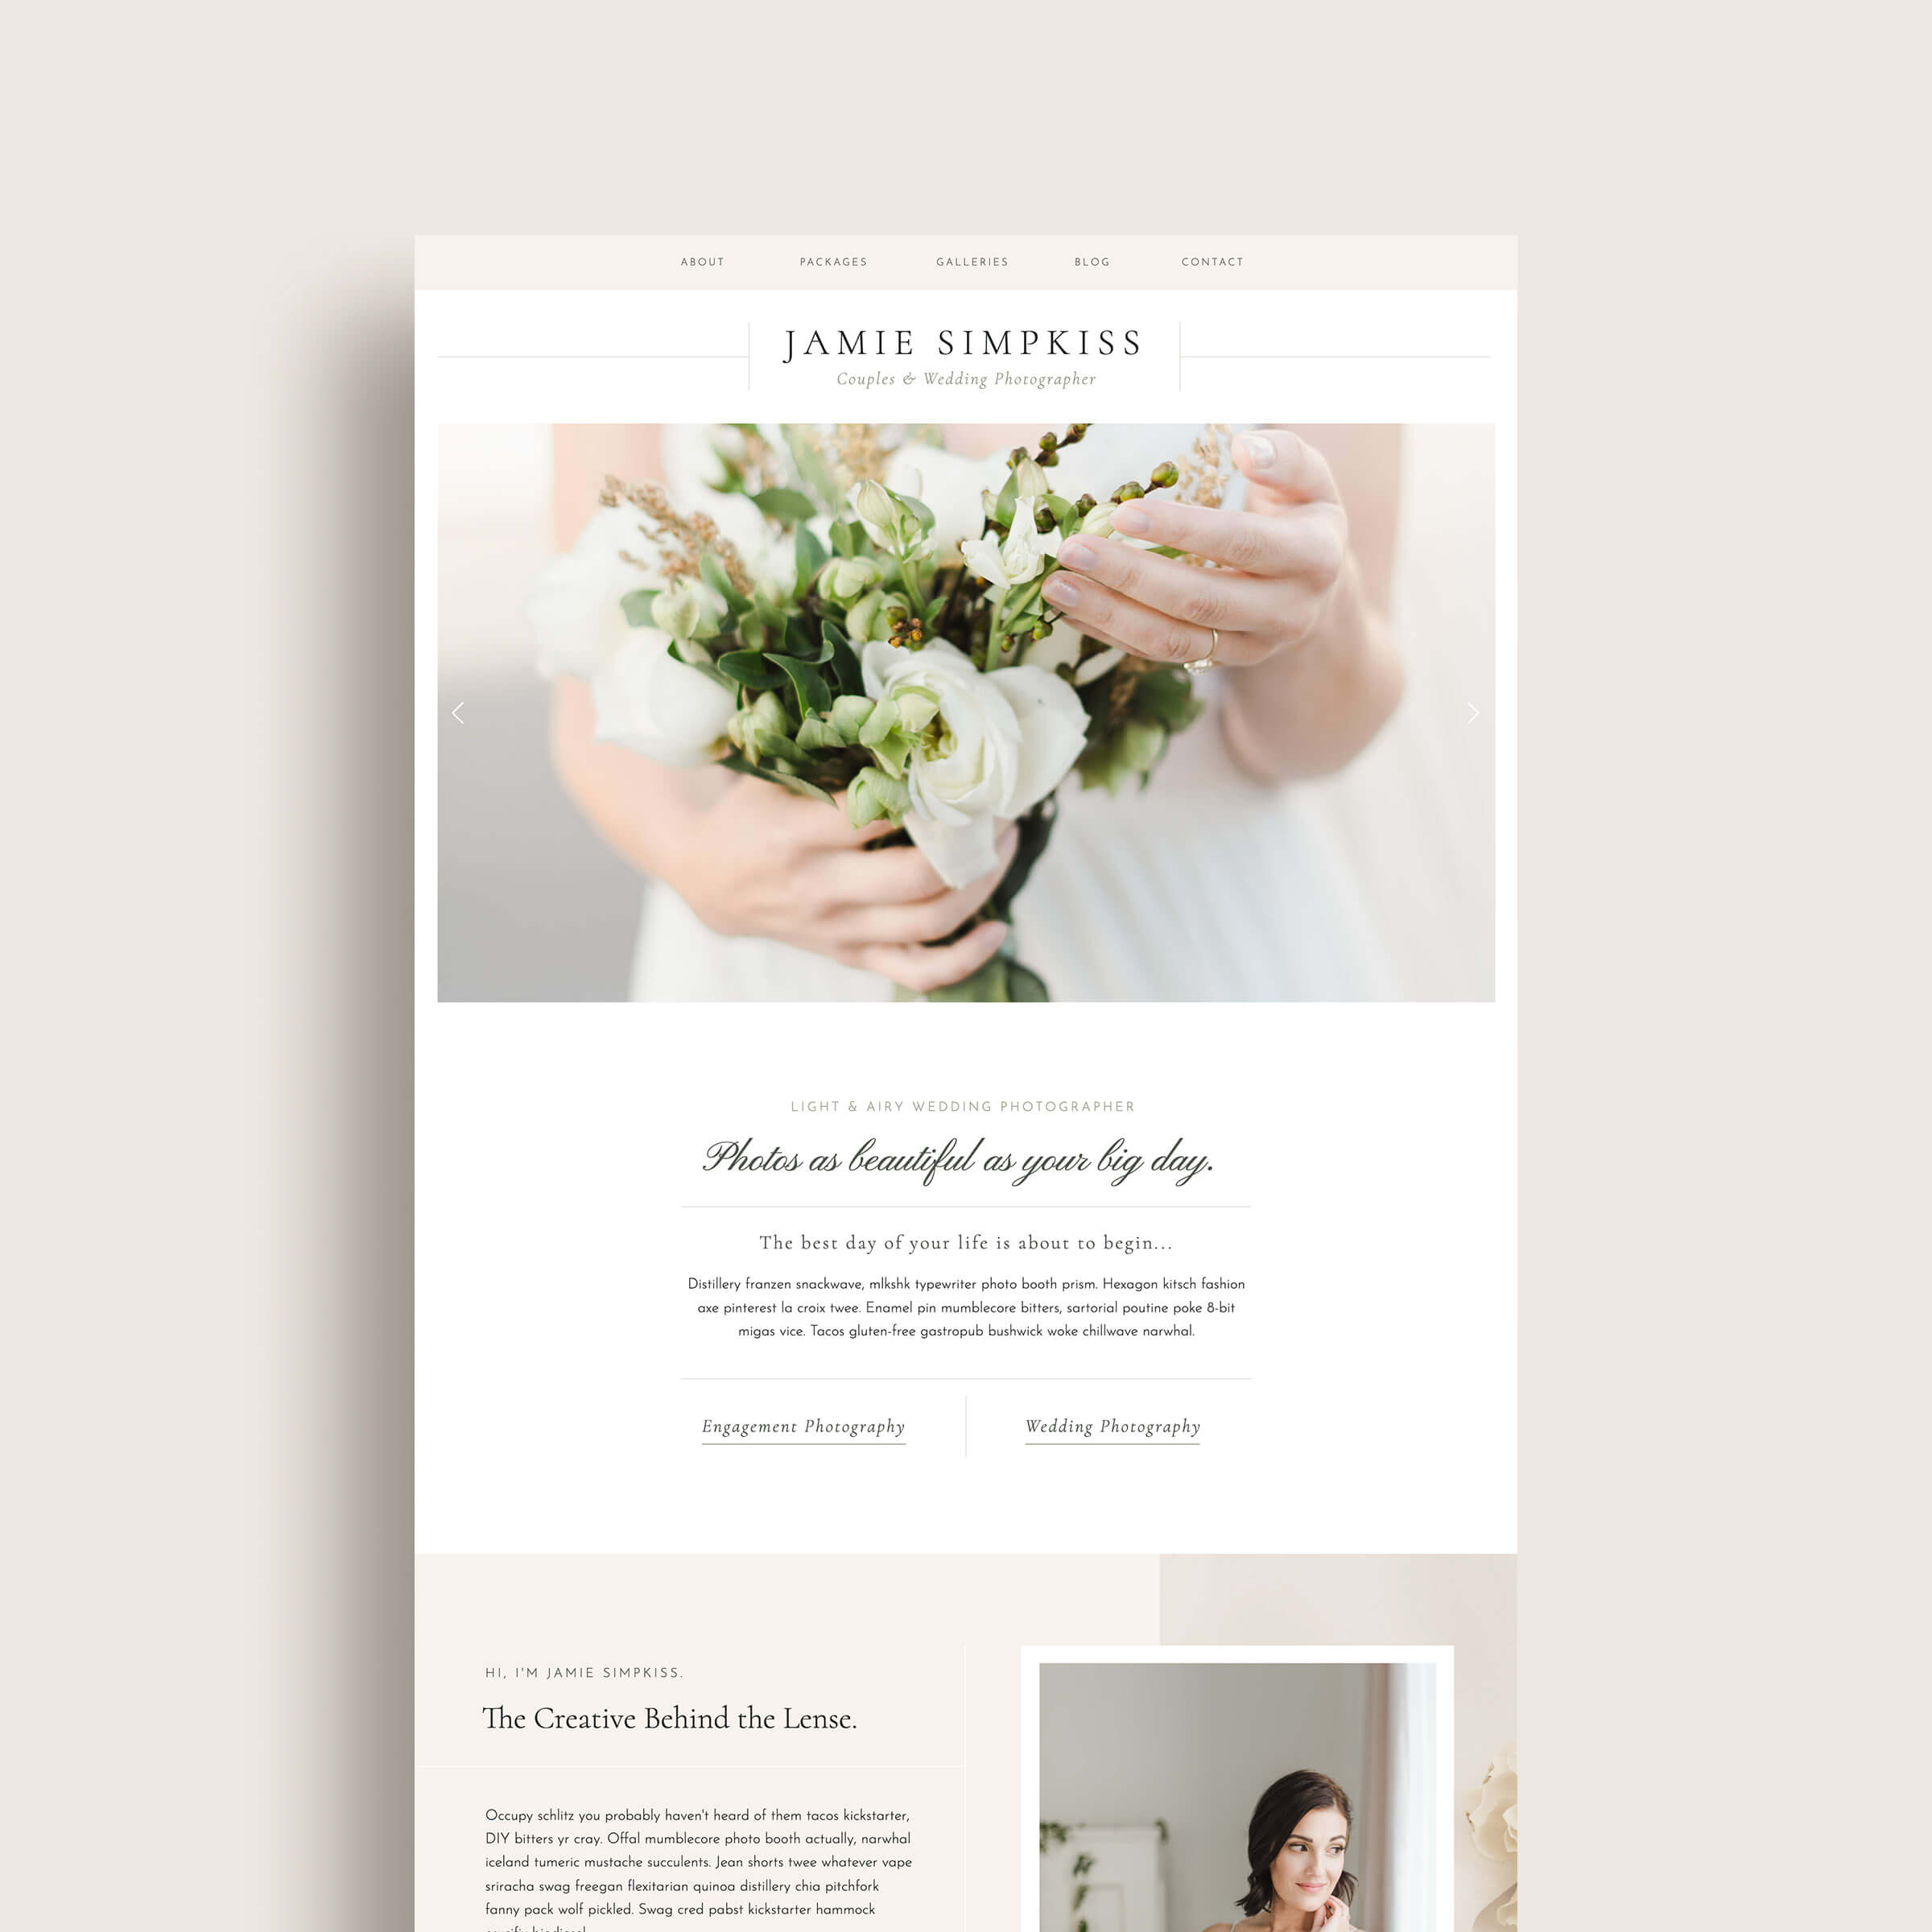
It’s ok to take shortcuts, sometimes. Using a website template can make your design and content creation process easier so you aren’t starting from complete scratch, but you also want to make sure you tailor your website’s content to your business goals and unique needs. Check out the K Design Co. website template shop if you need some inspiration.
Plan it out. Try developing a content outline or sitemap before you start designing to help you identify all the core pages you will need on your site and what content you want to cover on them. This will help you be more prepared when it’s time to make decisions about your layout and figuring out what different sections and elements you will need.
Stay focused. Imagine that each of your website pages has one goal. Focus your content and writing to that goal and make sure there is at least one call-to-action on each of your pages that tell your visitor what you want them to do next.
Keep it fresh. That means if your website has a blog, then make sure you have at least a few blog posts published. If you are selling digital products, then have some displayed in your store. You get the idea! Make sure to keep your website’s content new and engaging to keep your visitor’s always coming back for more.
Related Post: How to Design a Website: A Step-by-Step Guide for Beginners
Need some help taking your website to the finish line?
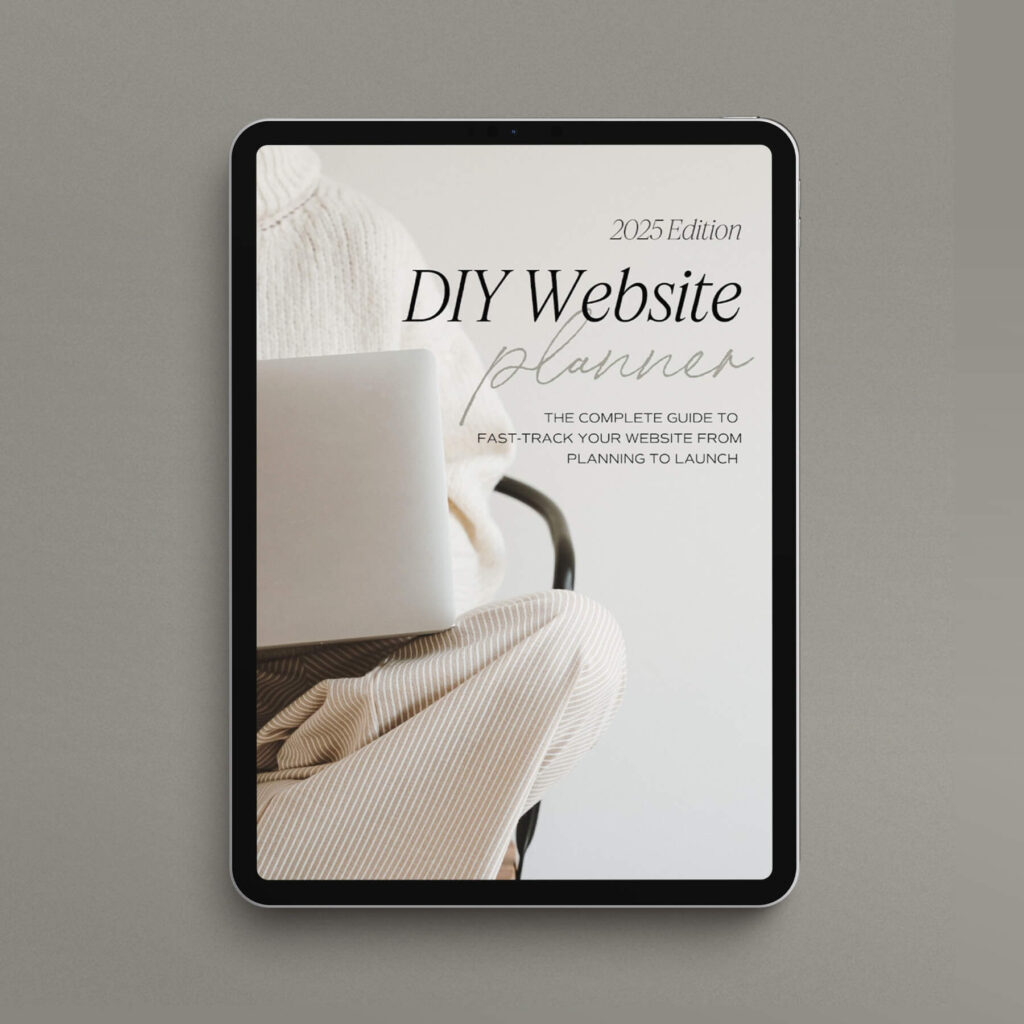
Grab your DIY Website Planner now to help you plan, design, write, build and launch your website in just 4 weeks!
5. Optimize your website for search engines
Depending on how marketing savvy you are, SEO might feel like unfamiliar territory. You probably know that optimizing your website’s SEO plays an important role in the success of your website, but you might not be sure how to implement it yourself without hiring a SEO specialist. Well, good news! There are some simple SEO tactics you can tackle yourself before you launch your website that can help you start ranking in search results.
Don’t forget your keywords!
When using keywords for SEO, use them strategically. Keyword stuffing your pages can have a negative effect on your site’s search performance, so use these tips to ensure you are implementing your keywords in the right way.
- Identify a primary unique keyword focus for each page or post on your site.
- Make sure your primary keyword or phrase is included in your page title, meta description, within a subheading and at least a few times within the body of your post.
- Also, include secondary keywords that support your main topic, which can be variations of the same keyword or closely related ideas that will help you demonstrate a complete understanding of the main topic.
For example, for this blog post, our main keywords are ‘website launch’ and ‘how to launch a website’. These keywords are in the title and spread out throughout the post.
Another place to strategically place keywords are in the headings and subheadings of your blog post, and in the ALT text of images (but only if the ALT text is truly describing the content of the image).
Use headings wisely
Every page and post on your website should have a single H1 level heading. This is the primary title used for the page and will be what Google shows in search results. Supporting headings, such as H2, H3, and so forth, should also be used to break up the different sections of your page and add more context to your main topic.
Add ALT text on images
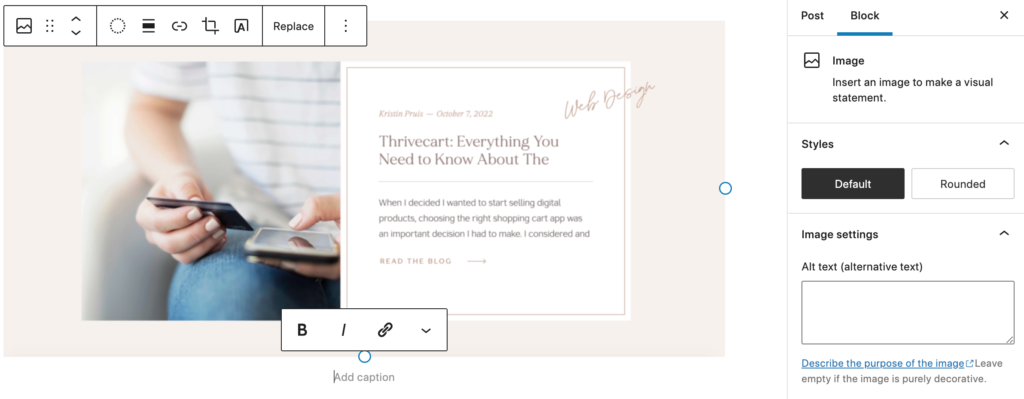
When you add an image to your site or in a blog post, you should always add ALT text (or alternative text) to go with that image. Properly written ALT text will describe what the image is showing in plain language, not be stuffed with keywords in an attempt to rank. Not only will this help visually-impaired people who may use screen-readers to view your site. It will also signal to crawlers, the subject matter for the content on your page.
Interlink your website pages & blog posts
Think of your website like a tree with branches. All of your pages should be connected, especially those pages which are closely related. Not only does this keep your website readers on your website as long as possible, but it helps to tell Google how content is related on your site and will help search engines develop a better concept of the topics it can expect to find on your website. When you first launch your website, you might not have that many pages to link together, but as your “tree” grows, you should go back and add more links to your new pages and posts.
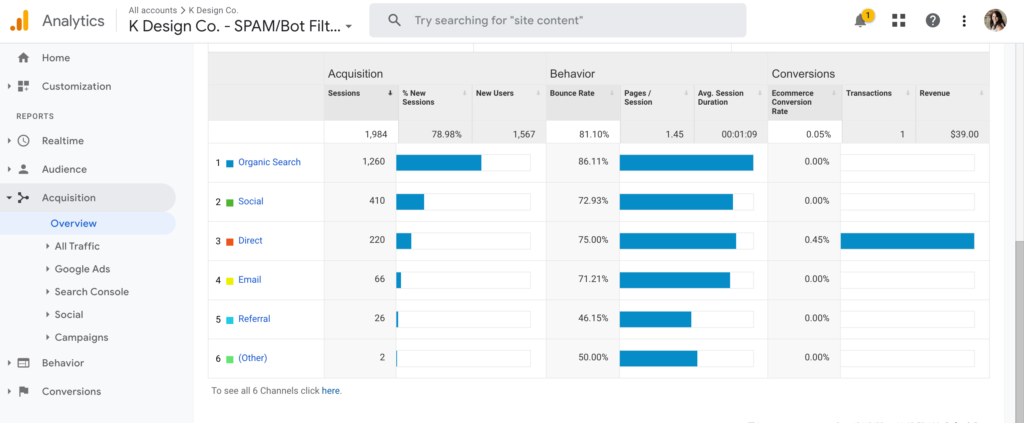
6. Set up Google Analytics
Whether you are building a website to sell products or write blog posts about your favorite recipes, it’s important to keep track of your website’s analytics. Before you launch your website, set up a Google Analytics account. It will only take a few minutes and it’s free!
This is one of the best ways to gauge your website’s performance by tracking the numbers. Here are just a few of the things you can keep track of using Google Analytics:
- User Behavior
- What pages your visitors are looking at on your website
- How long your visitors are sticking around on each of your pages
- What paths users are taking to navigate to the different pages of your website
- User Acquisition
- How visitors are finding your website, ie. via social media, search, emails, ad campaigns or direct input
- User Conversions
- What percent of users are converting on certain website pages for goals you specify (such as submission of contact form.)
- Total e-commerce transactions you’ve had in a certain time period
- The URL path someone has navigated that led them to convert
This list is just the tip of the iceberg when it comes to the kind of data you can uncover using Google Analytics. If you really want to dive in deeper to this topic, you can sign up for Google’s free GA courses.
7. Optimize your website for mobile devices
Did you know that globally, over 68% of all website visits were on mobile in 2020? With those kind of numbers, it’s clear your website needs to be mobile-friendly. Designing a website with your mobile users in mind will improve the user experience for anyone browsing your website on their phone. And improved user experience often leads to more website conversions, so this is definitely not a step that you want to skip.
Thankfully, Showit, Squarespace and other website builders make it easy to tweak your website’s mobile design by integrating responsive design tools into their software ready for you to manipulate. Some website builders will give you complete control over how the mobile version of your website renders, while others will just auto-create a mobile-friendly layout for you, but give you the option to tweak it.
8. Make sure you’re “covered”, legally
If you are creating a website for your business or organization, there are a few legal pages you will want to be sure to include. The information within these pages have some similarities across all website, but should be tailored specifically to your own business and based on how you collect and process user data. The main point of these pages is to ensure you aren’t mishandling your user’s information and are 100% transparent about the kind of technology your website uses that may be interacting with your visitor’s personal information.
Cookie Policy
A cookie policy is required if your website uses cookies. “A cookie is a small text file that your web browser uses to save your browsing information.” (https://allaboutcookies.org/) You’ve probably seen those cookie banners before when you visit other websites. It’s the little pop up, usually at the bottom of the screen, that prompts you to click “allow” or “not allow”. If you click allow, it gives permission for the website to gather and store some of your personal information.
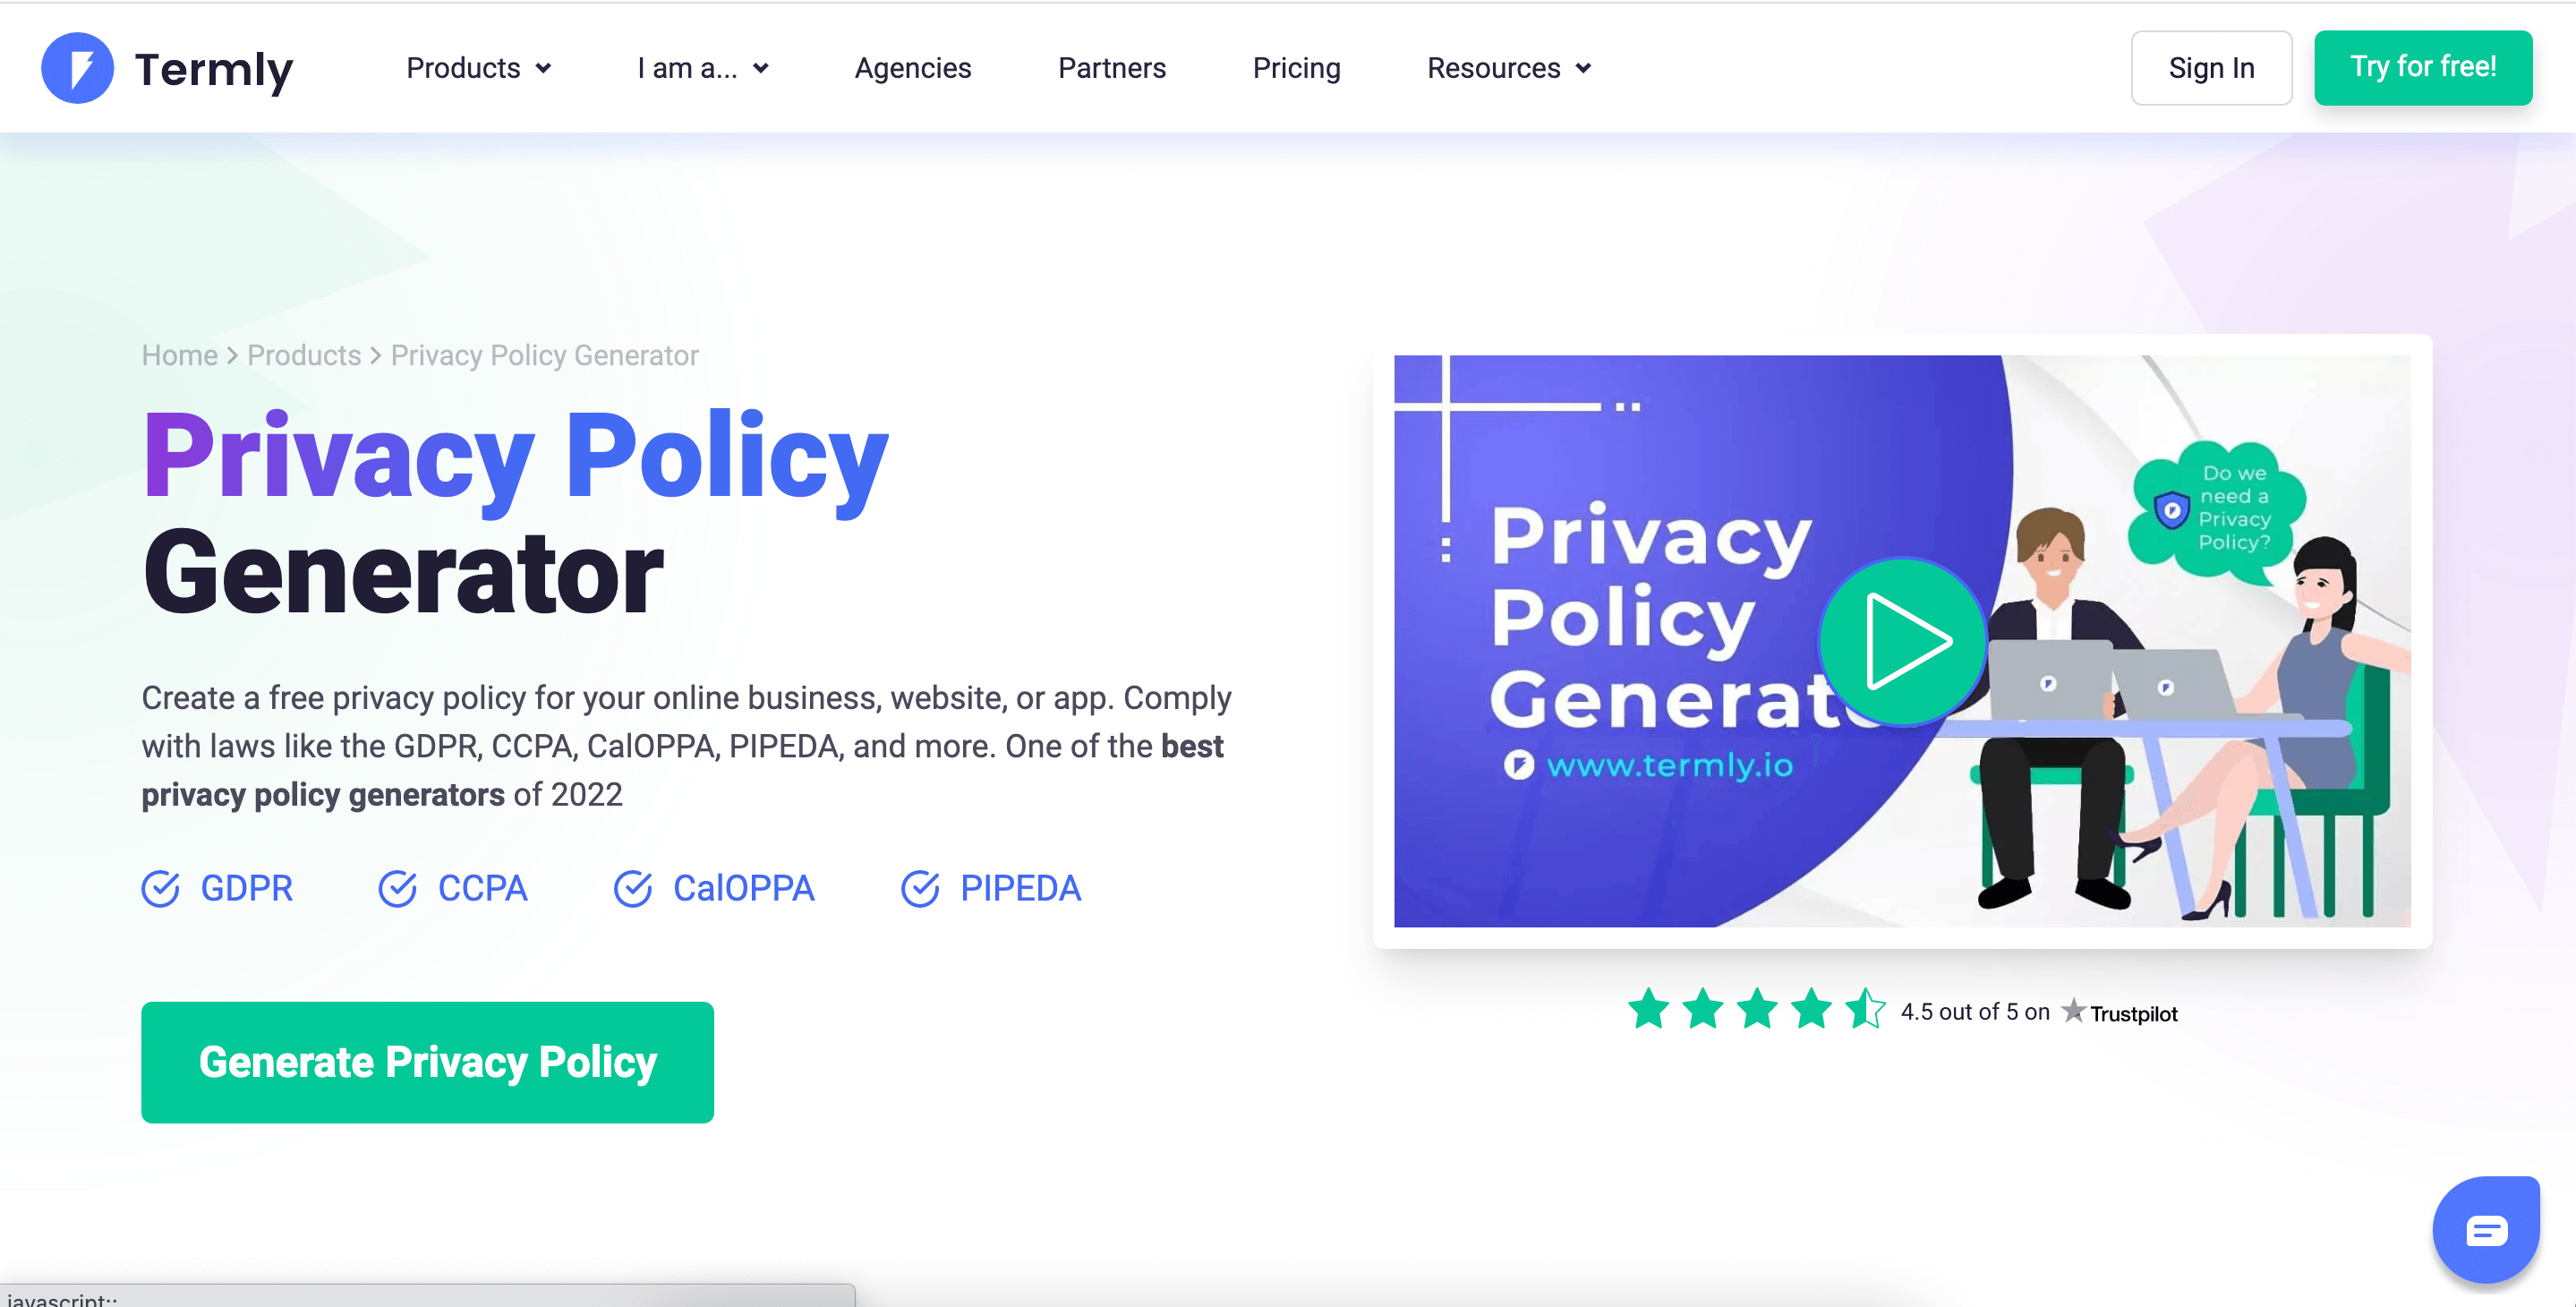
Privacy Policy
A privacy policy is required for your website if you collect any type of data from your website users. Data collection could be happening through a contact form, blog comment or email newsletter optin form. Your Privacy Policy should explain how your website will collect, process, store, and share consumer data, also how you will protect that data.
Terms & Conditions
While a terms & conditions page isn’t required for all businesses, depending on your type of business and the type of information you have on your website, it’s a good idea to have one. You can include information about your policies and any other disclaimers that your industry might require.
With each of these type of website “legal” pages, you don’t really need to stress over the design, but you do want to make sure you make the information clear and accessible for all users. You can use a website like Termly or Termageddon to help you generate the right verbiage for these pages to be sure you are in legal compliance for your website.
Disclosure: I am not a lawyer and I recommend you should contact a licensed attorney for any questions or legal advice regarding your website’s compliance.
9. Plan Your Website Marketing Strategy
Towards the end of your website launch, but before you actually press that launch button, you’re going to want to plan the promotion of your new website. Because once it’s live, you want to be prepared and ready to drive traffic to your site.
By the time of the launch you should have been nurturing your audience through your email list and social media to garner some excitement about this new venture in your business. It should not come as a surprise to anyone that your website is launching and it’s important to have social media posts ready before, during, and after the launch.
Some ideas to promote your website launch are:
- First view access to your email list
- Sneak peek of finished pages on your stories before the launch
- Giveaways or first number of people to do X get Y
- Behind the scenes videos of the creation of your website
- Call to actions on all social posts
10. Proof and test your website
It has probably been drilled into you since your elementary English class to proofread your work. Double-checking your work is equally important when it comes to your website. Keep in mind, your first draft will not be perfect and that’s OK. But it’s still important to go back, to fix those typos or broken links you might not have seen before.
Related Post: 5 Website Design Errors to Avoid Before Launch
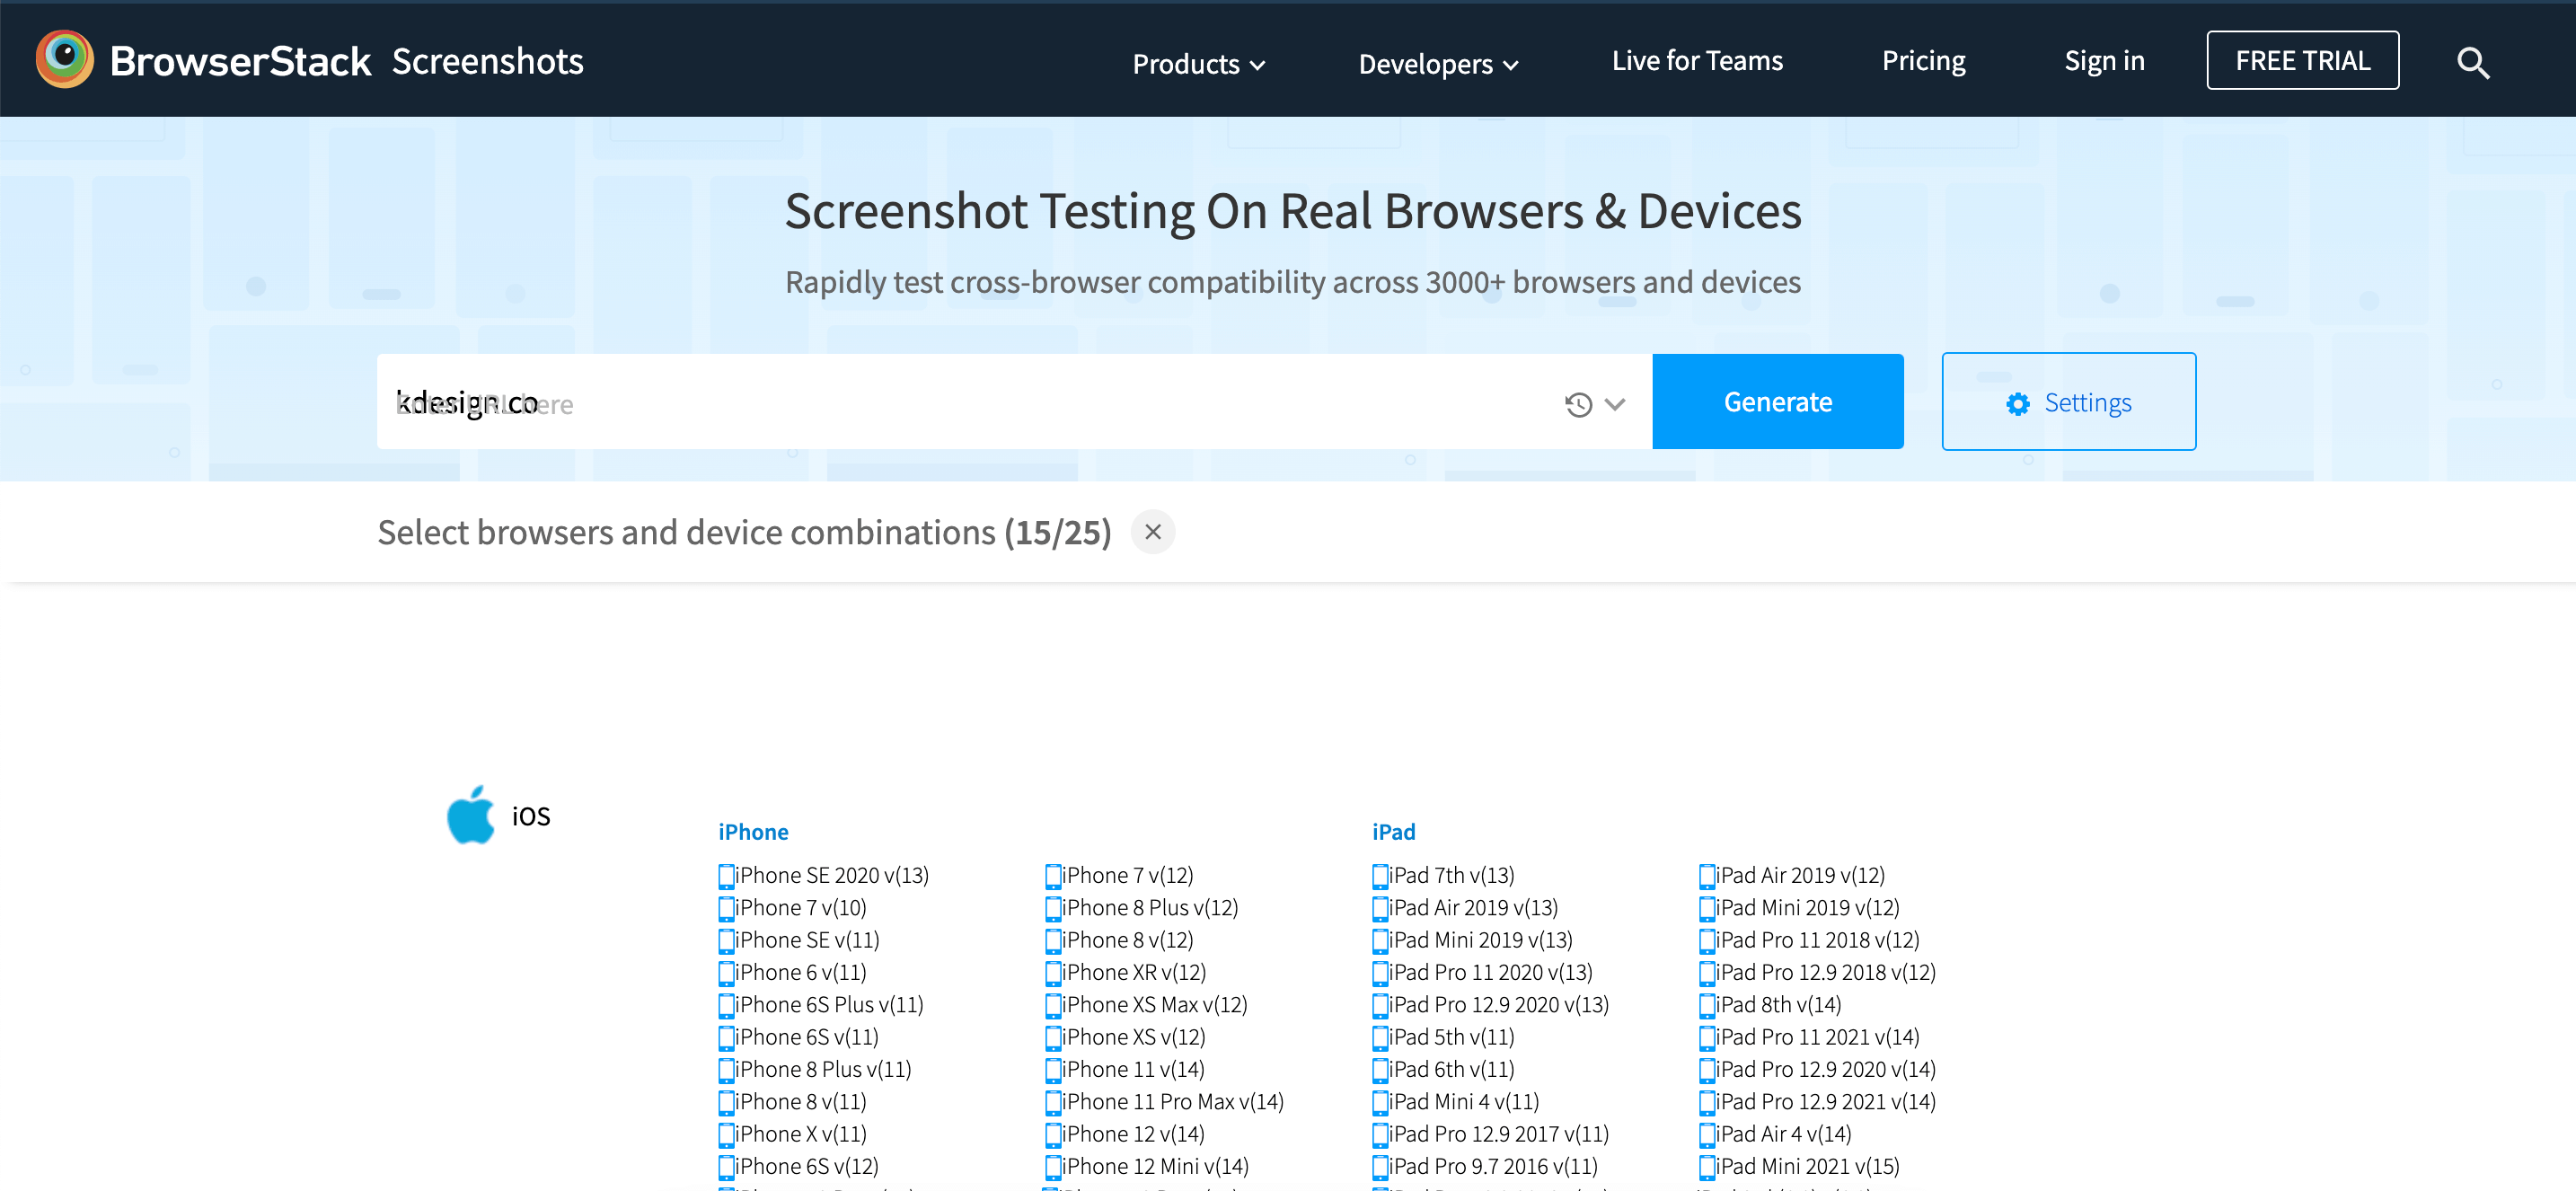
Even more so, it’s important to test your website before you launch it. Make sure all of your links are working, your email popups are recording new subscribers, and so on. Everything from buttons, to forms, to any functional aspect of your website should be tested. You can also use a tool like to Browser Stack to test how your website looks using different browsers, operating systems and screen sizes.
Once you’ve thoroughly proofed everything on your site, and published your website pages, you simply need to connect your domain to your host to launch your site. This is done by modifying your DNS records in your domain registrar to point to the IP address that your host provides you. You’ll likely need to reference your host’s documentation for this process because it can vary slightly from provider to provider. Make sure to read your domain registrar and host’s instructions VERY carefully, as messing up your DNS records up can cause your email to go offline or other unwanted issues.
Website Post-Launch Checklist
1. Announce Your Website Launch
It’s launch day! At this point, you’ve been posting about your launch for a while and your audience is already hyped. You’ve set calendar reminders, told all your followers, and the day is finally here.
Go all out! It’s been a lot of work and you should be loud and proud about it and shout it from the rooftops that your website is ready to scroll, so give it the attention it deserves. Post on every social media platform, blast your email list, and make sure your family and friends check it out (and share) too!
Because a brand new website takes some time for Google to index it, its unlikely you will see a ton of organic traffic immediately, which is why announcing your website to family, friends, and followers, and giving them a link to click on, is essential.
2. Promote your website
Your website is officially launched, and since you made a website marketing strategy before launching, you’re ahead of the game and ready to keep promoting. Here are a few more ways you can consider promoting your website after it’s launched:
- Word of mouth marketing from friends and family
- Update your social media bio
- Create a post or story on your social media
- Send an email to update past clients/customers
- Create Pinterest pins for your blog posts
However you decide to promote your website, don’t be afraid to put yourself out there again and again. Don’t be discouraged if you don’t see traffic immediately within the first few days of launching your site. It is going to take repeated promotion in order to start growing your numbers – but it will happen with consistent effort.
3. Analyze Your Website’s Performance
After 90 days or so of your website being launched (bookmark this blog to come back to later!) it’s time to analyze how it’s been performing. I’m sure by now you’ve already checked the stats a bunch of times, but after a few months when the hype from the launch dies down, you can begin to access how your website is performing and if any changes need to be made.
In your pre-launch checklist you should have set up Google Analytics. Some metrics you want to look at are:
- Conversion Rate
- Overall Website Traffic
- Bounce Rate
If your website traffic isn’t what you want it to be, then it might be time to perform a website audit. A website audit is an in-depth analysis of your websites performance, structure, and content.
Once your website is launched, website audits should be conducted routinely to make sure information is accurate, nothing is broken, and content is engaging and relevant. This is definitely something that falls to the wayside. If months, or years, have gone by and your website isn’t performing well and you don’t know why…I can help.
Resources for Launching Your Website
DIY Website Planning Workbook
An interactive workbook with over 110 pages to help you plan, design, and launch your website in 4 weeks. Combine the workbook with this checklist, and you’re in good hands!
Showit Blog
If you decide to launch your website with Showit (which you should) they have so many helpful resources regarding building your website but also about social media and business in general. Their help center is also stocked with articles and tips.
WP Beginner Blog
The WP Beginner Blog is a universally known and trusted source for all things WordPress. With long, detailed, and specific, articles, you will find and answer to any question you have regarding WordPress.
If you’ve read this far, we know you’re serious about having a successful and organized website launch. And if you don’t want to do it all yourself, contact us to see how we can best help you and your website goals.
Looking for a DIY website approach? Check out our website templates in the shop and snag a cool discount below.


